Welcome to a series of blogs about Cultivate Cochrane president Jackie Skrypnek’s backyard greenhouse building process. The intent is to share a realistic account of one couple’s experience to help inspire and inform other community members in their own season-extending, food-producing ventures.
With a design in place and the frost out of the ground, it was time to take our little greenhouse from plan to reality. In preparation, I had scoured Kijiji for materials we might be able to use both to save money and to lighten the footprint of resources. I had high hopes of finding a large stash of free bricks, a suitable window or door, or foam insulation otherwise destined for the landfill. But my searches turned up nothing reasonably useful or cost-saving. We had to remember that the reason we were going to the considerable expense of building with passive solar design was to create a really efficient structure that could hold heat well in our shoulder seasons. If we put in a leaky window, warped boards where air would infiltrate, or patchy insulation to save a few bucks it would somewhat defeat the purpose of spending money on the project in general.
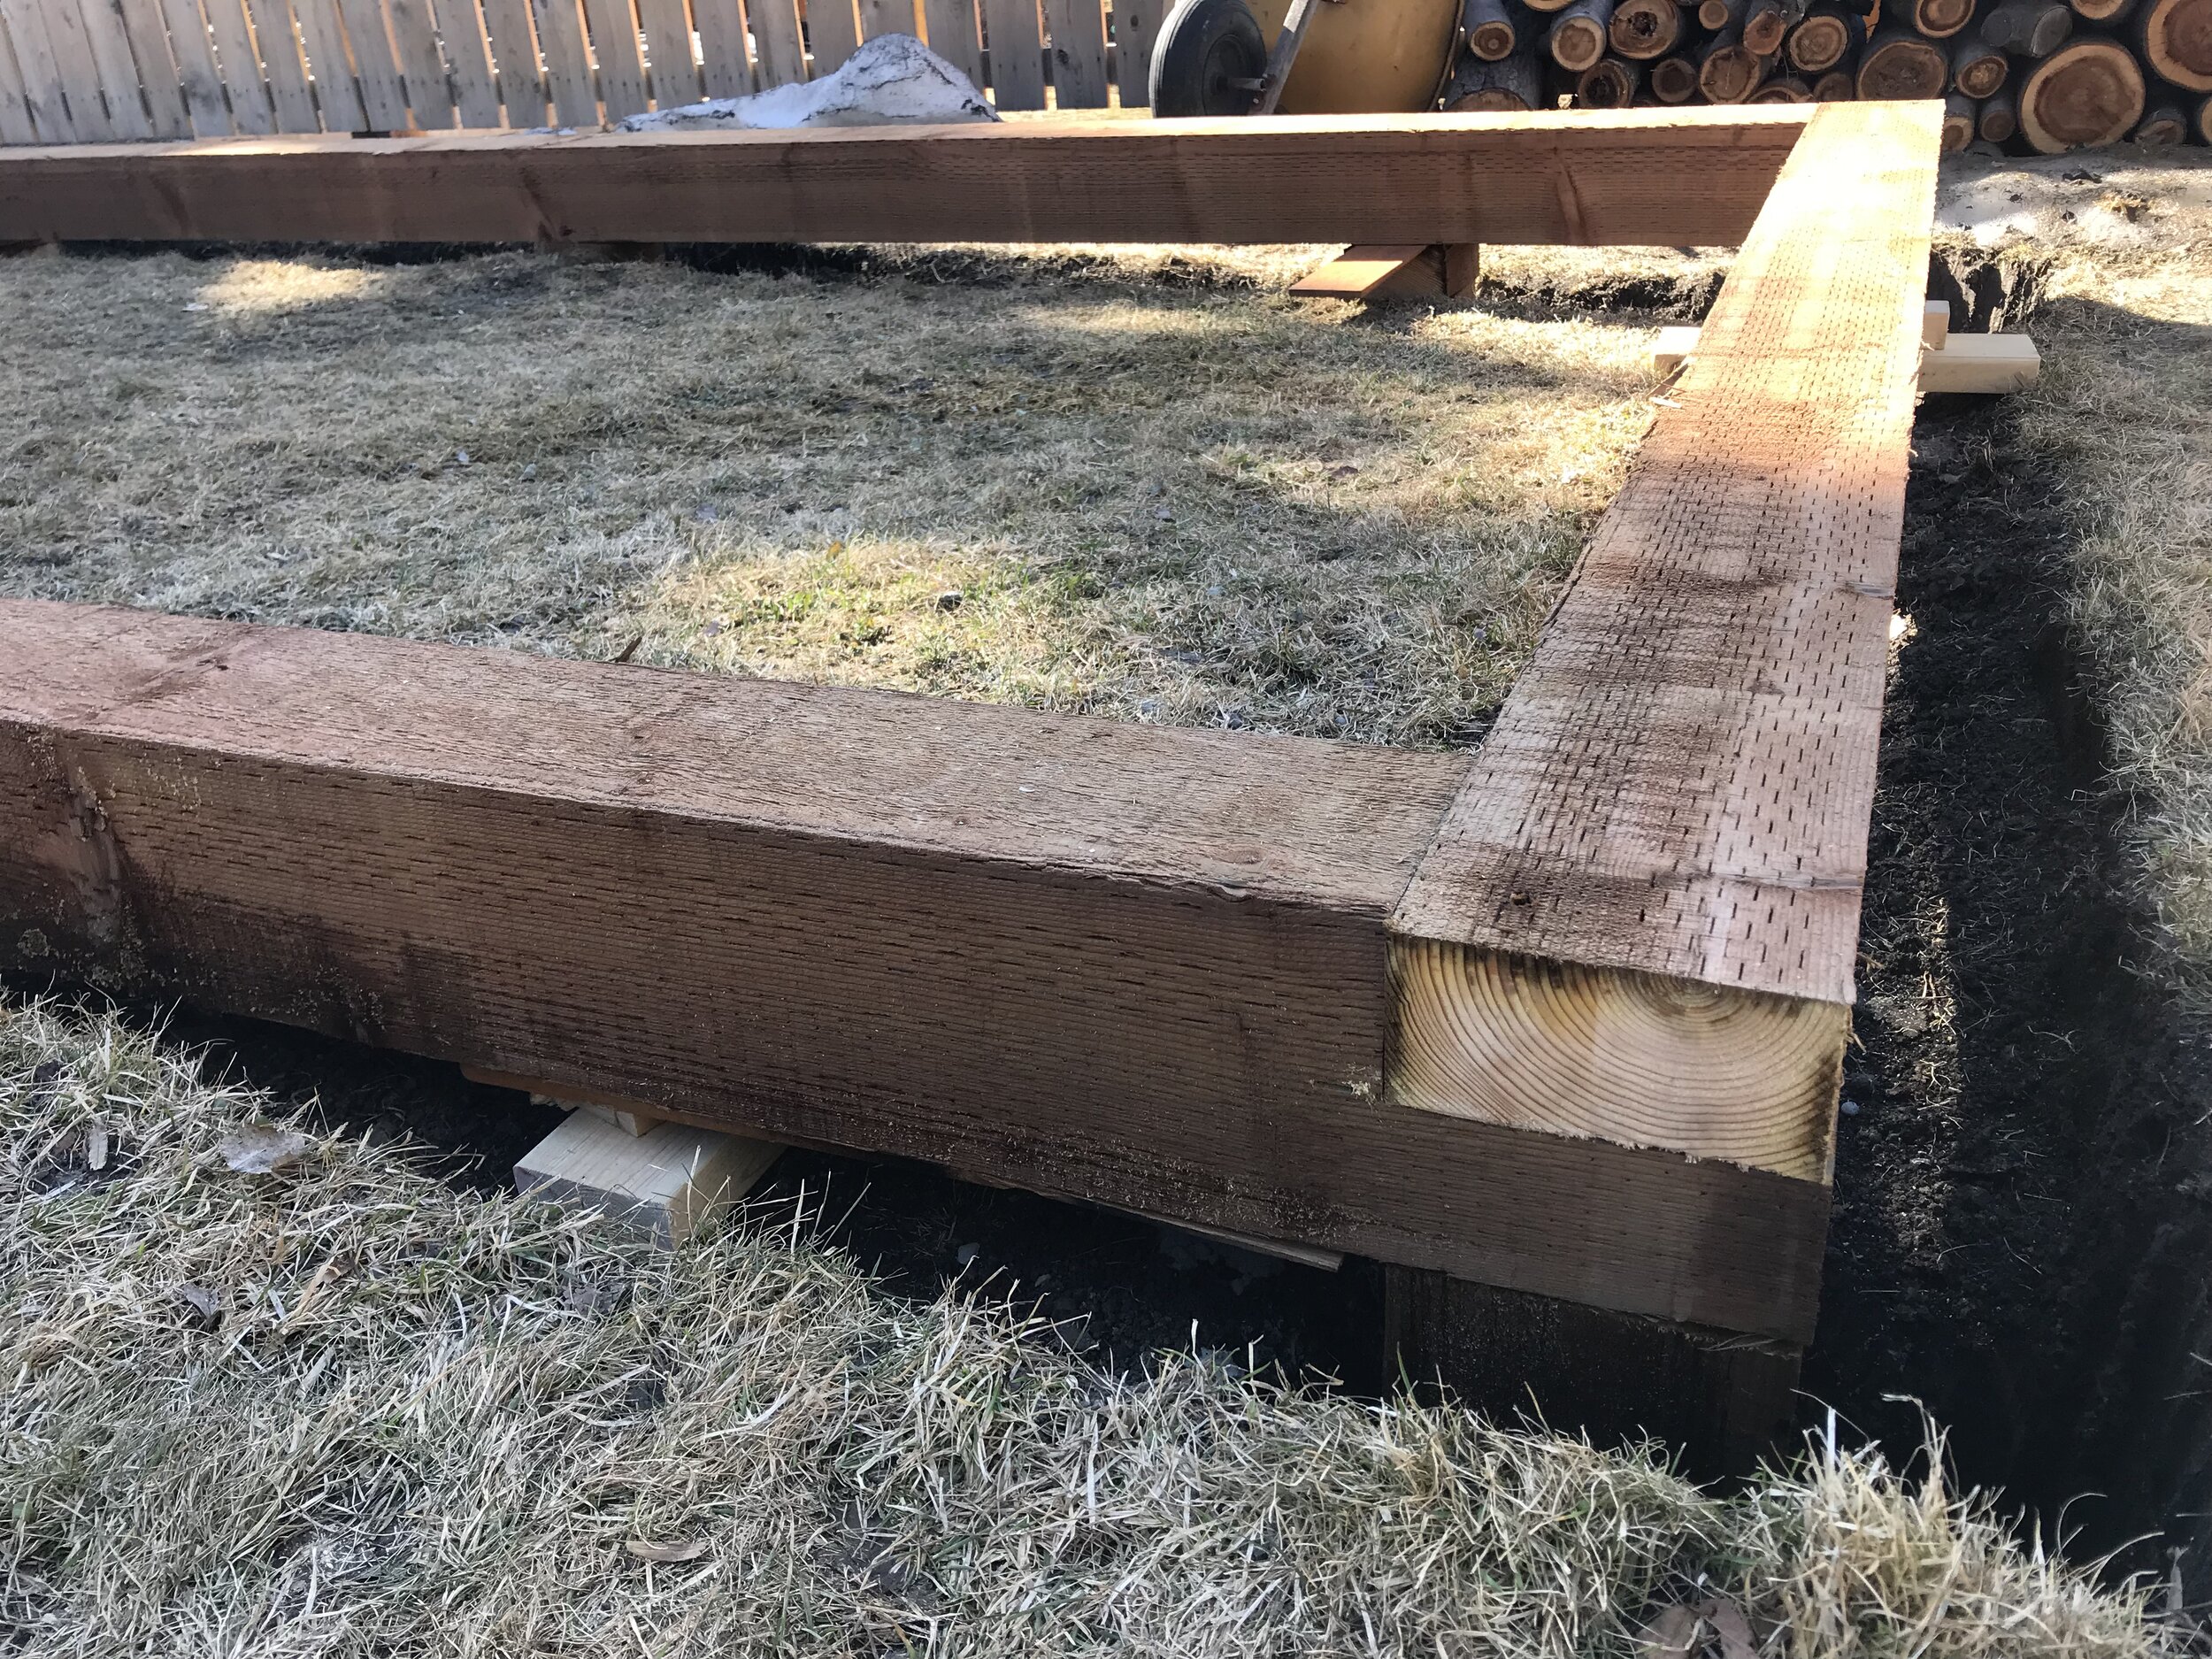
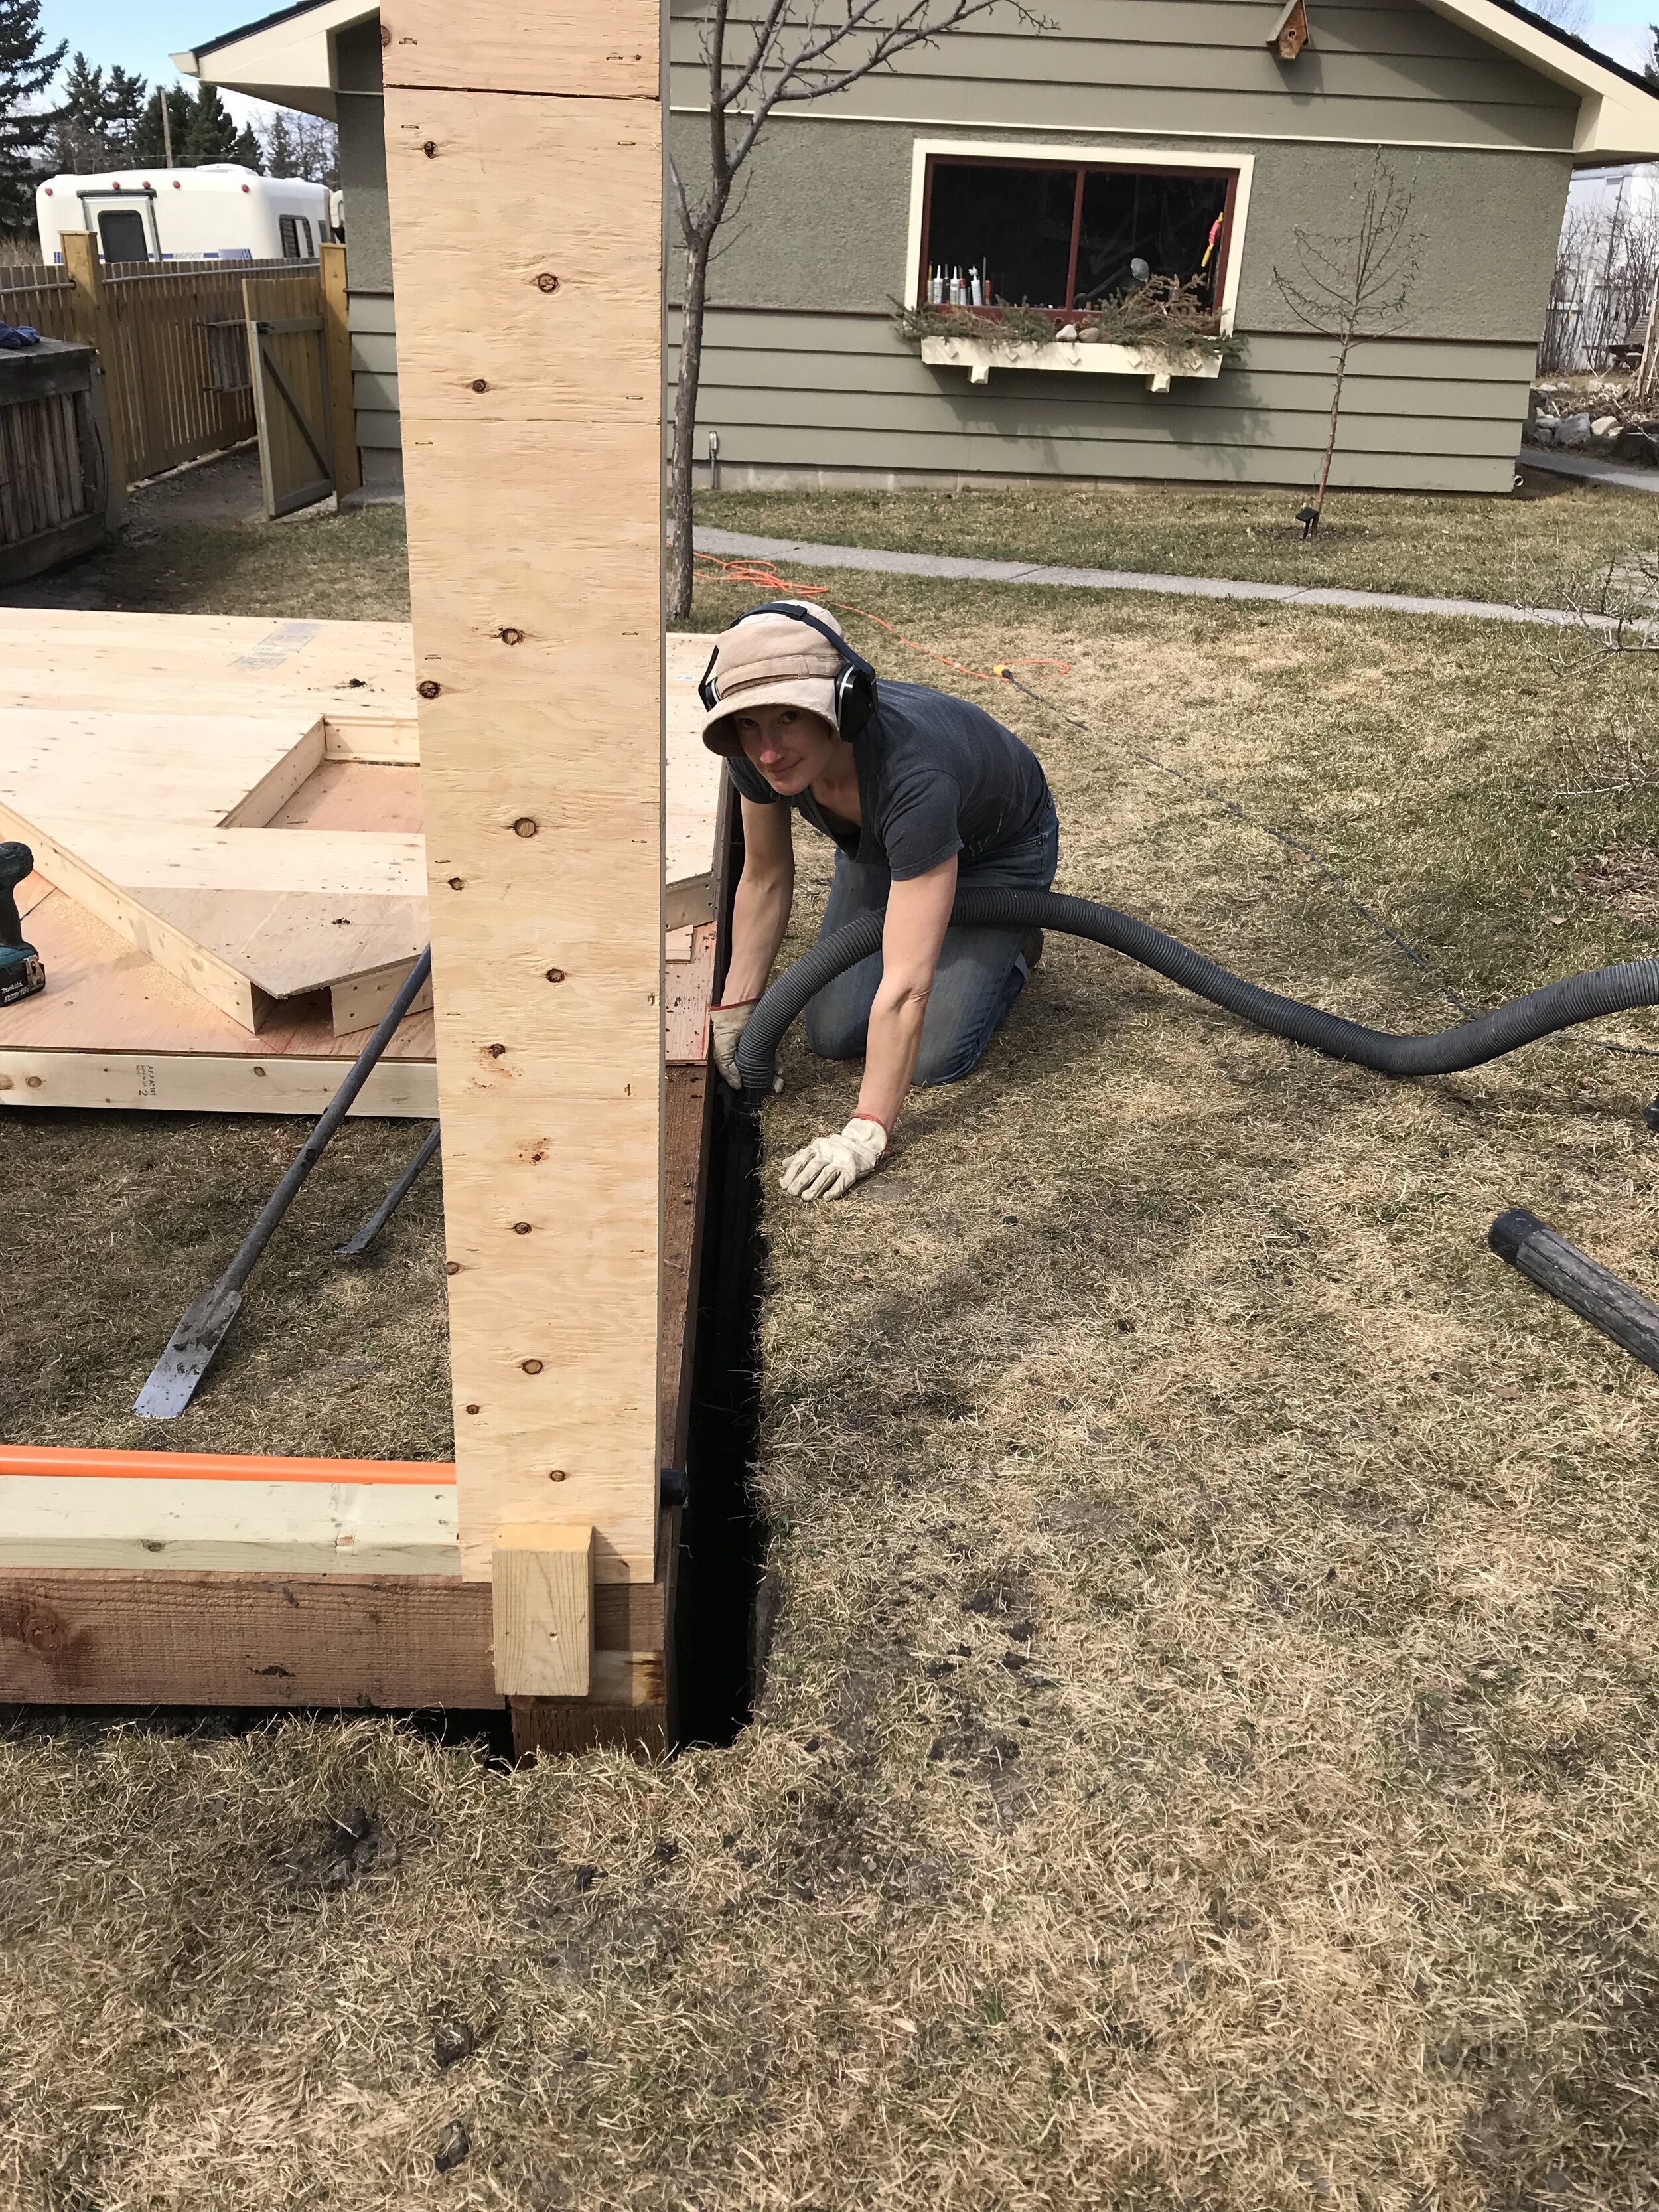
So, new building materials amassed, we began. We constructed a perimeter foundation of treated 6x6’s (nearly the only place we used treated lumber) levelled on 6 posts each on a concrete footing in the ground. Ideally a passive solar greenhouse is insulated to some degree from the frost below ground and there are several options for doing this. We chose to excavate a perimeter trench just wide enough to slip foil-backed foam insulation down as deep as possible. After several hours of work using a digging bar and a shop vac to help bring the soil up and out, we called it quits at a depth of about two feet. It would have to suffice! The upside of this foundation and insulation method is that it took minimal materials - just 6 bags of concrete, some wood and the insulation.
As a side note, installing a solid floor such as poured concrete is not recommended for optimal and ecological greenhouse function. Allowing your growing beds to access the subsoil is important for nutrient cycling and soil microbiology, plus the earth itself will act as uninterrupted thermal mass, storing excess greenhouse heat (at least as far down as the insulation runs). A concrete floor also inhibits drainage and comes with an immense embodied energy footprint.
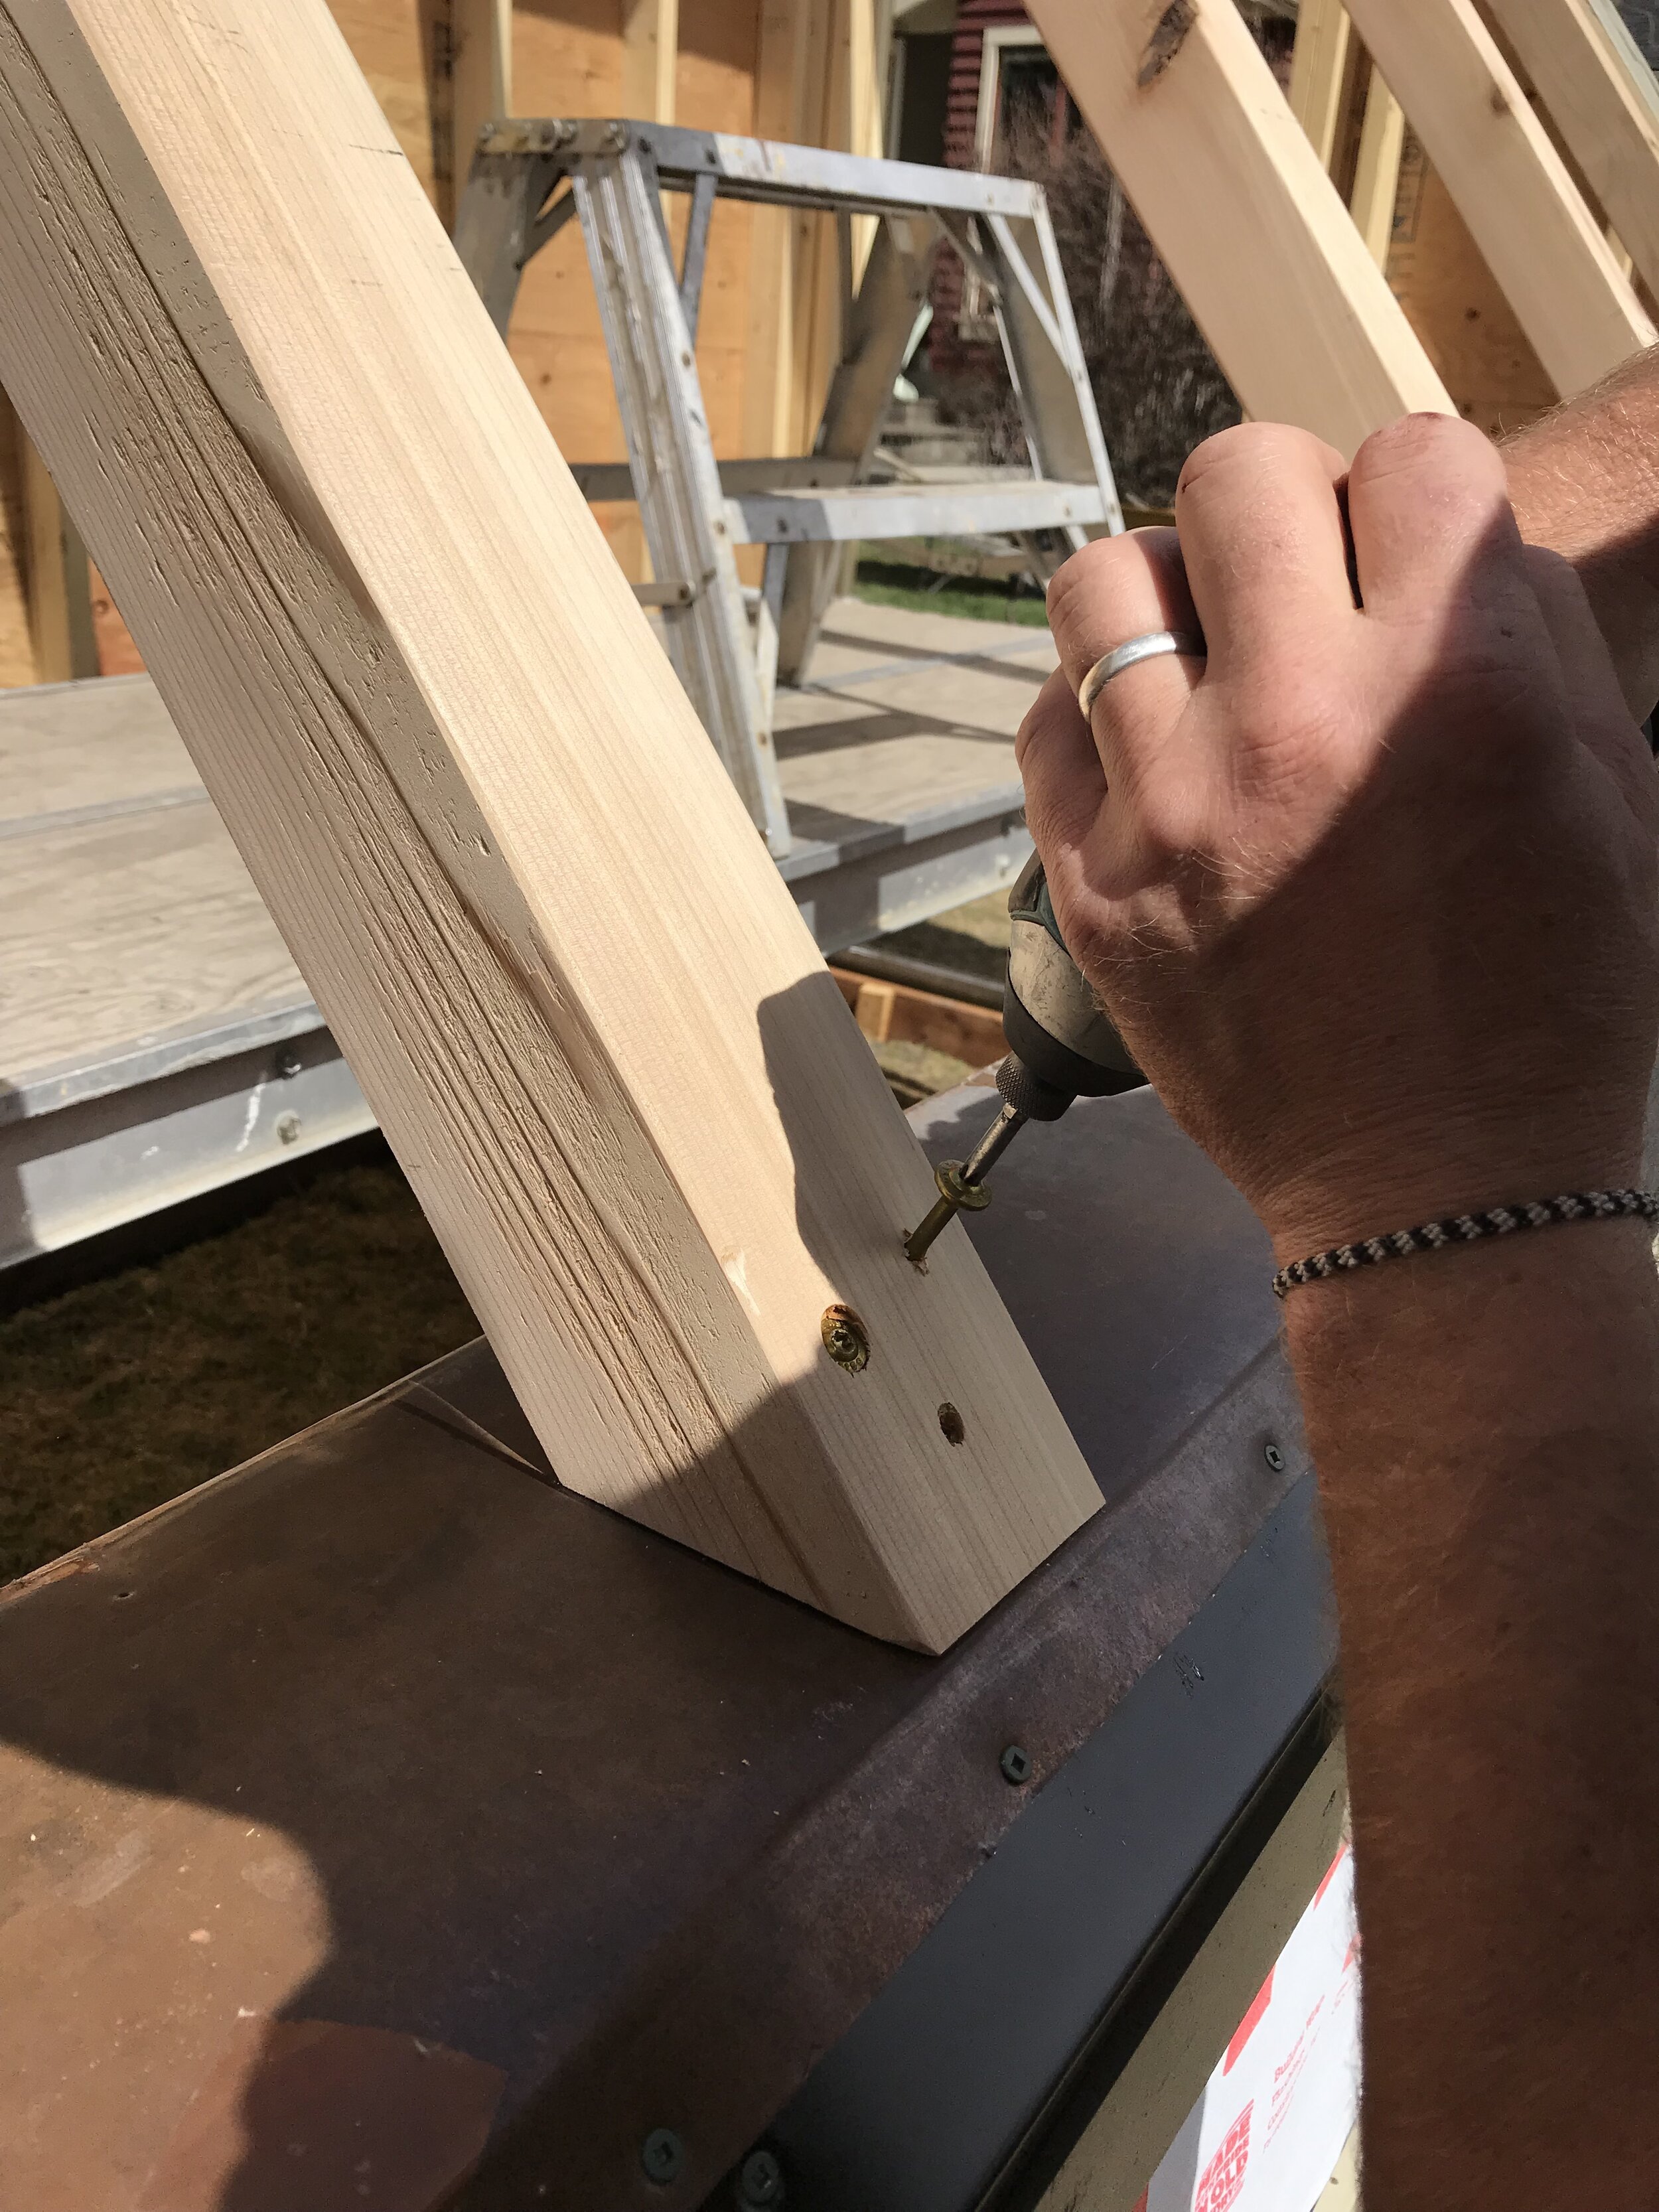
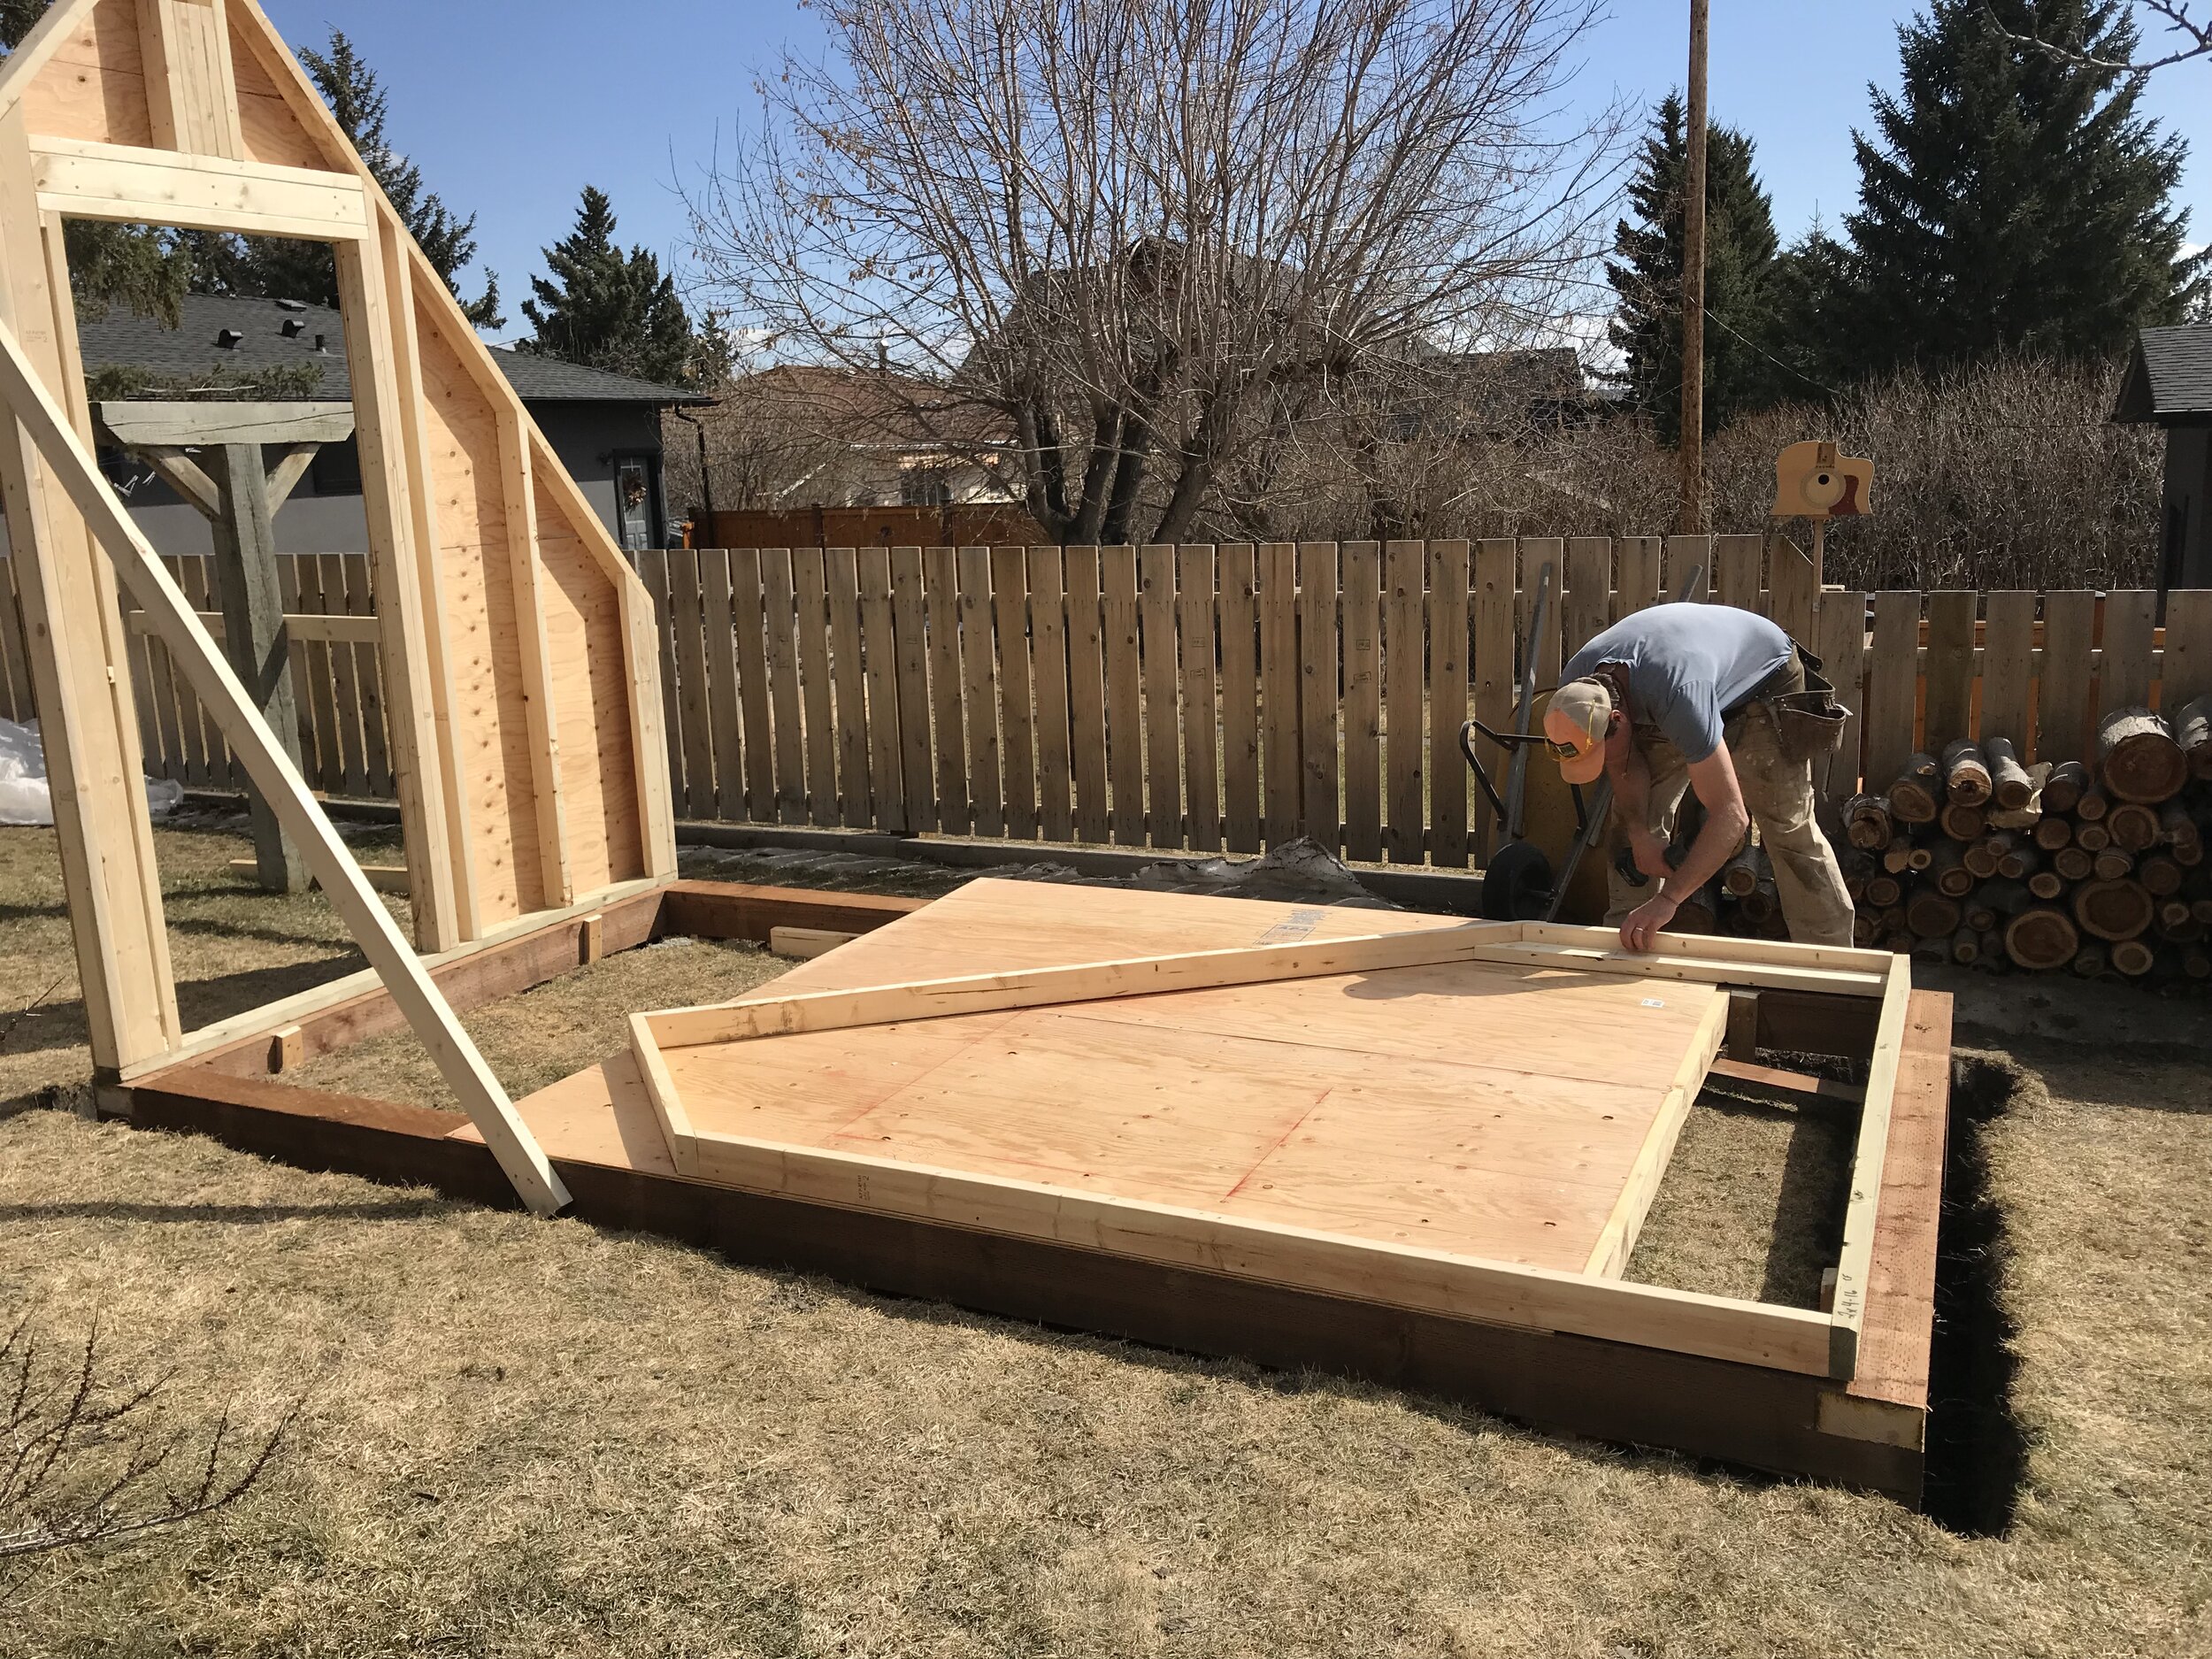
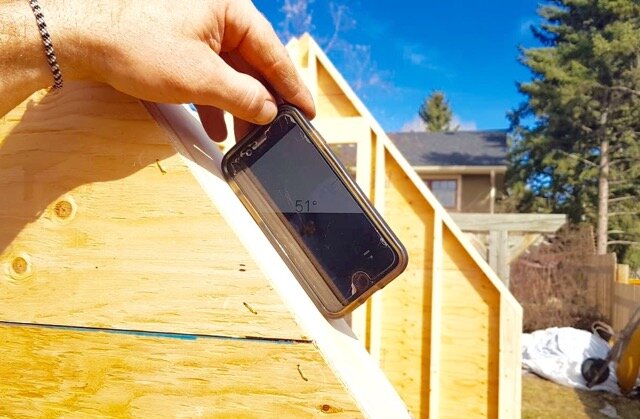
The walls went up quickly at this point, laid out first on plywood to ensure meticulous measurements and a perfect fit for subsequent stages. The angle of our south face took shape and we confirmed it to be 51º from horizontal, as planned. This angle means the glazing will be perpendicular to the angle of the sun (and thus receive maximum solar heat gain) sometime between equinox and winter solstice. We hope this will prove to be about right!
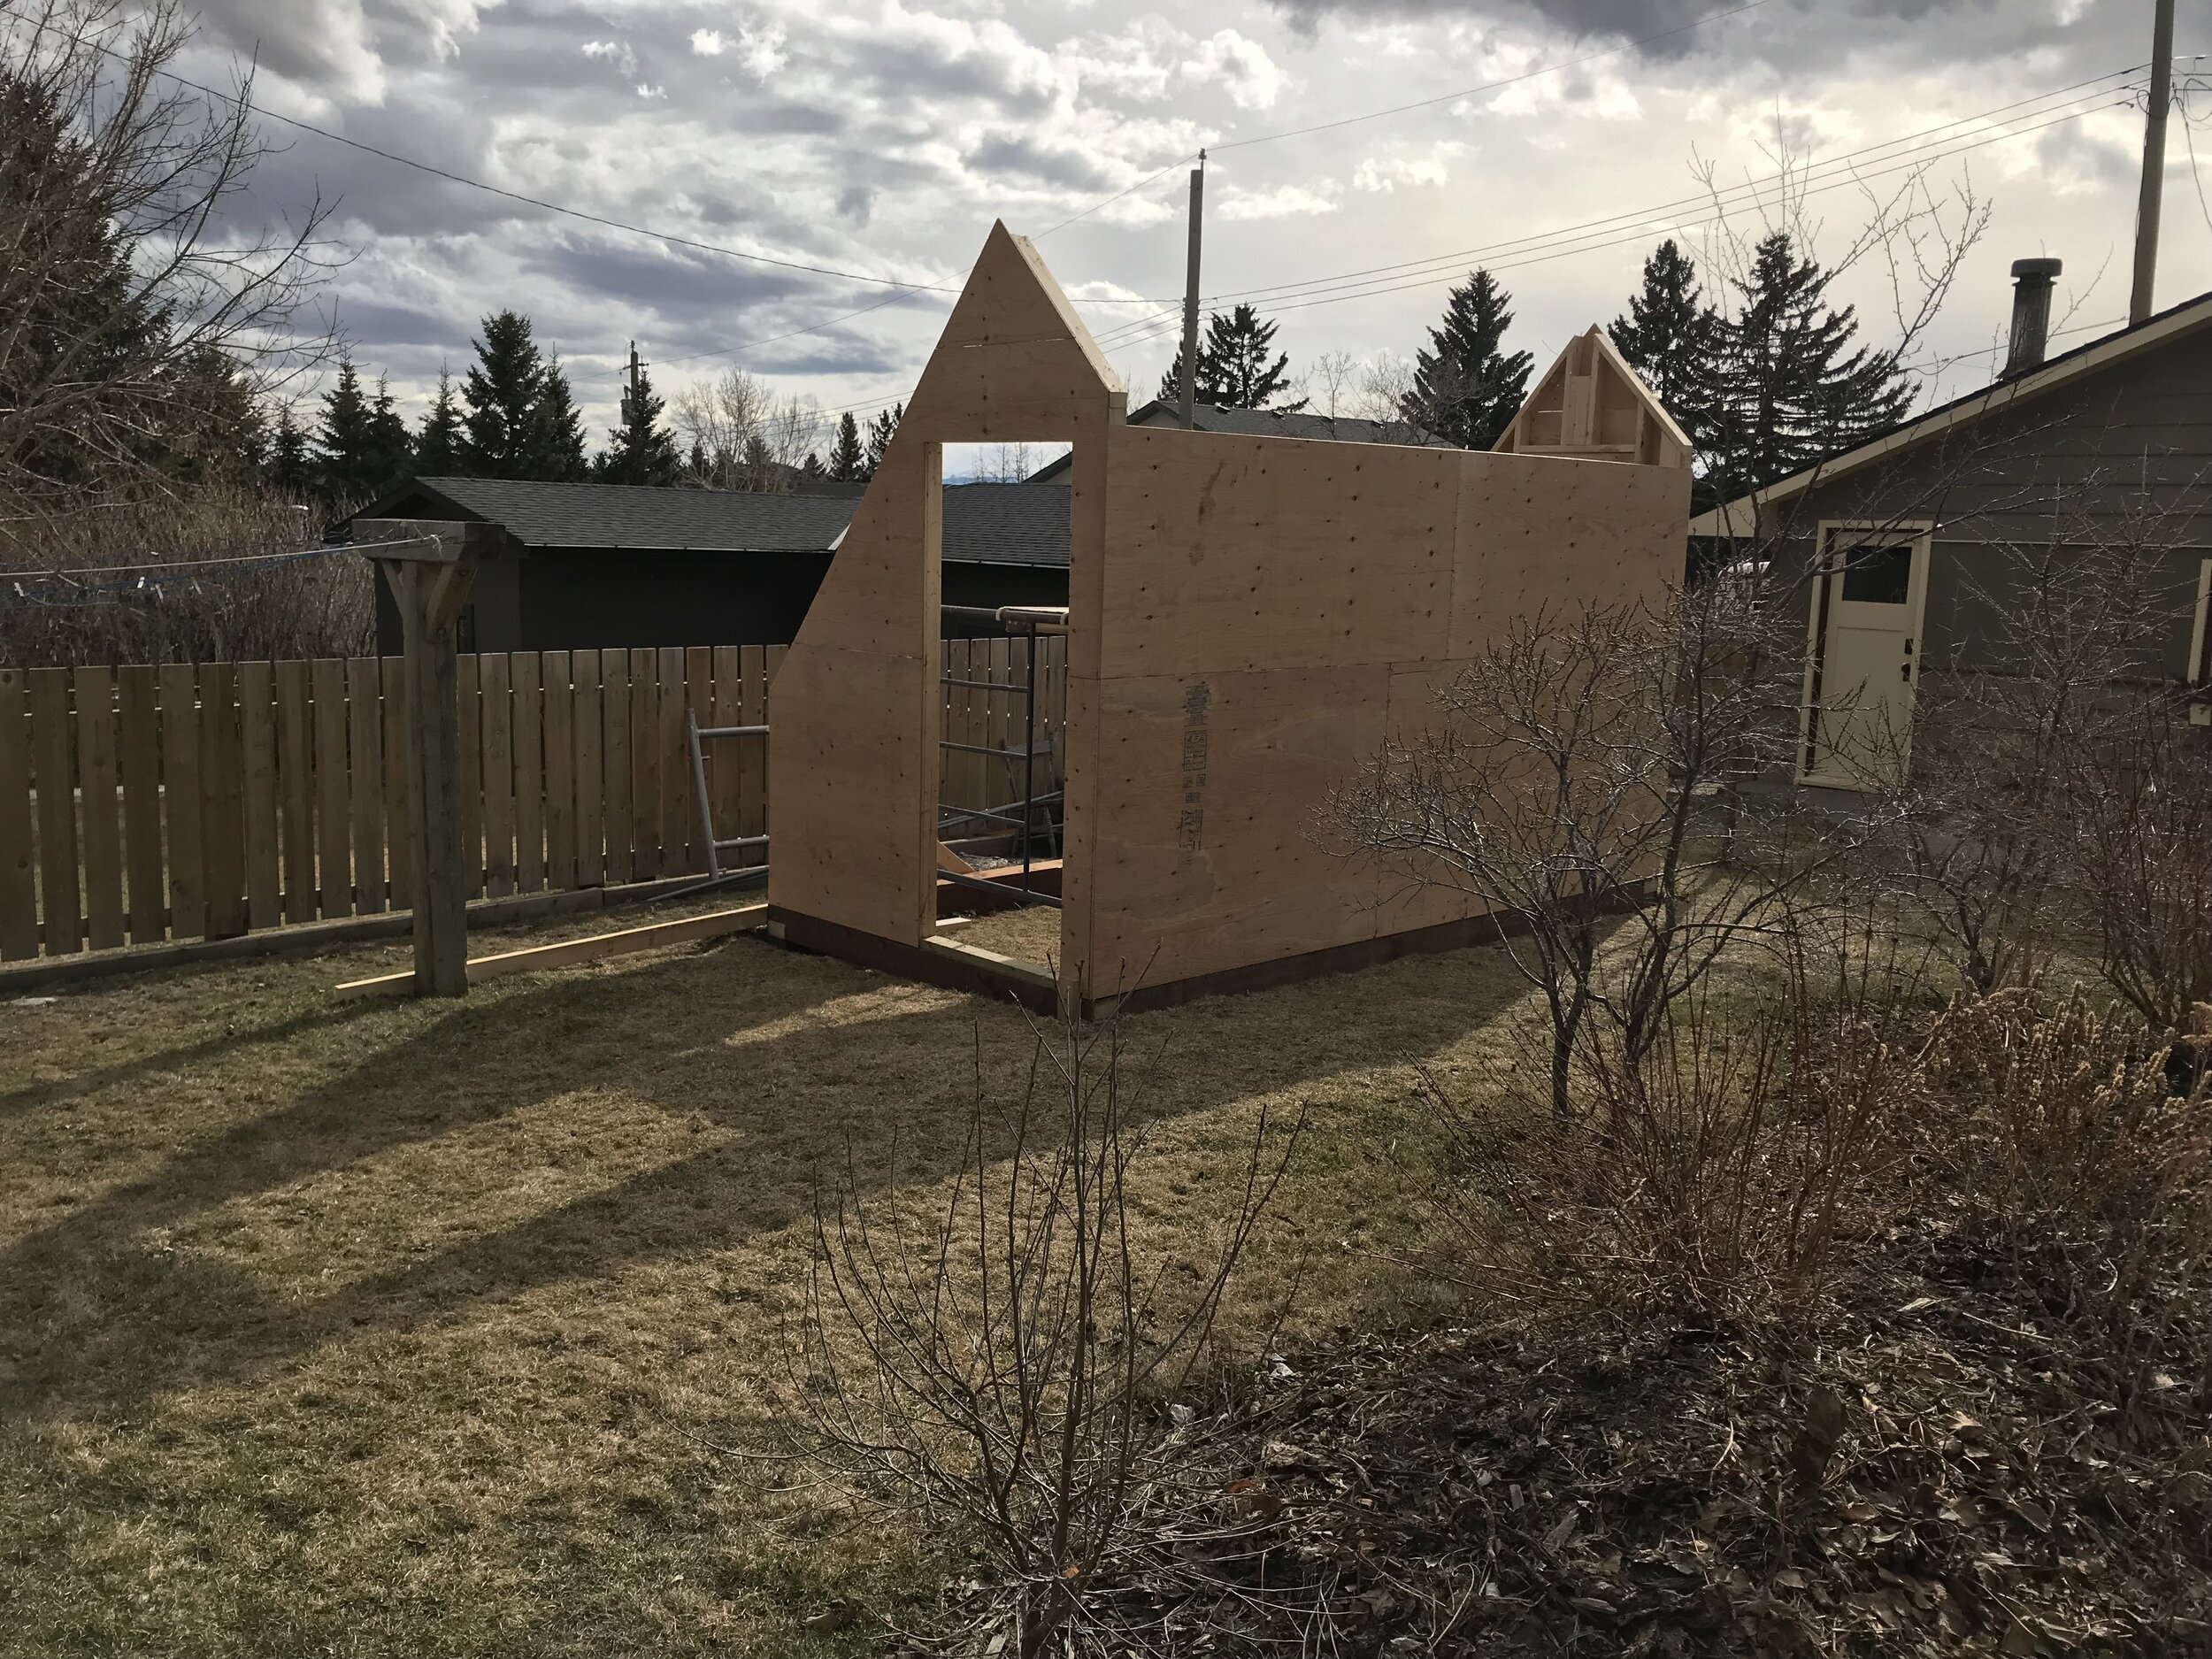
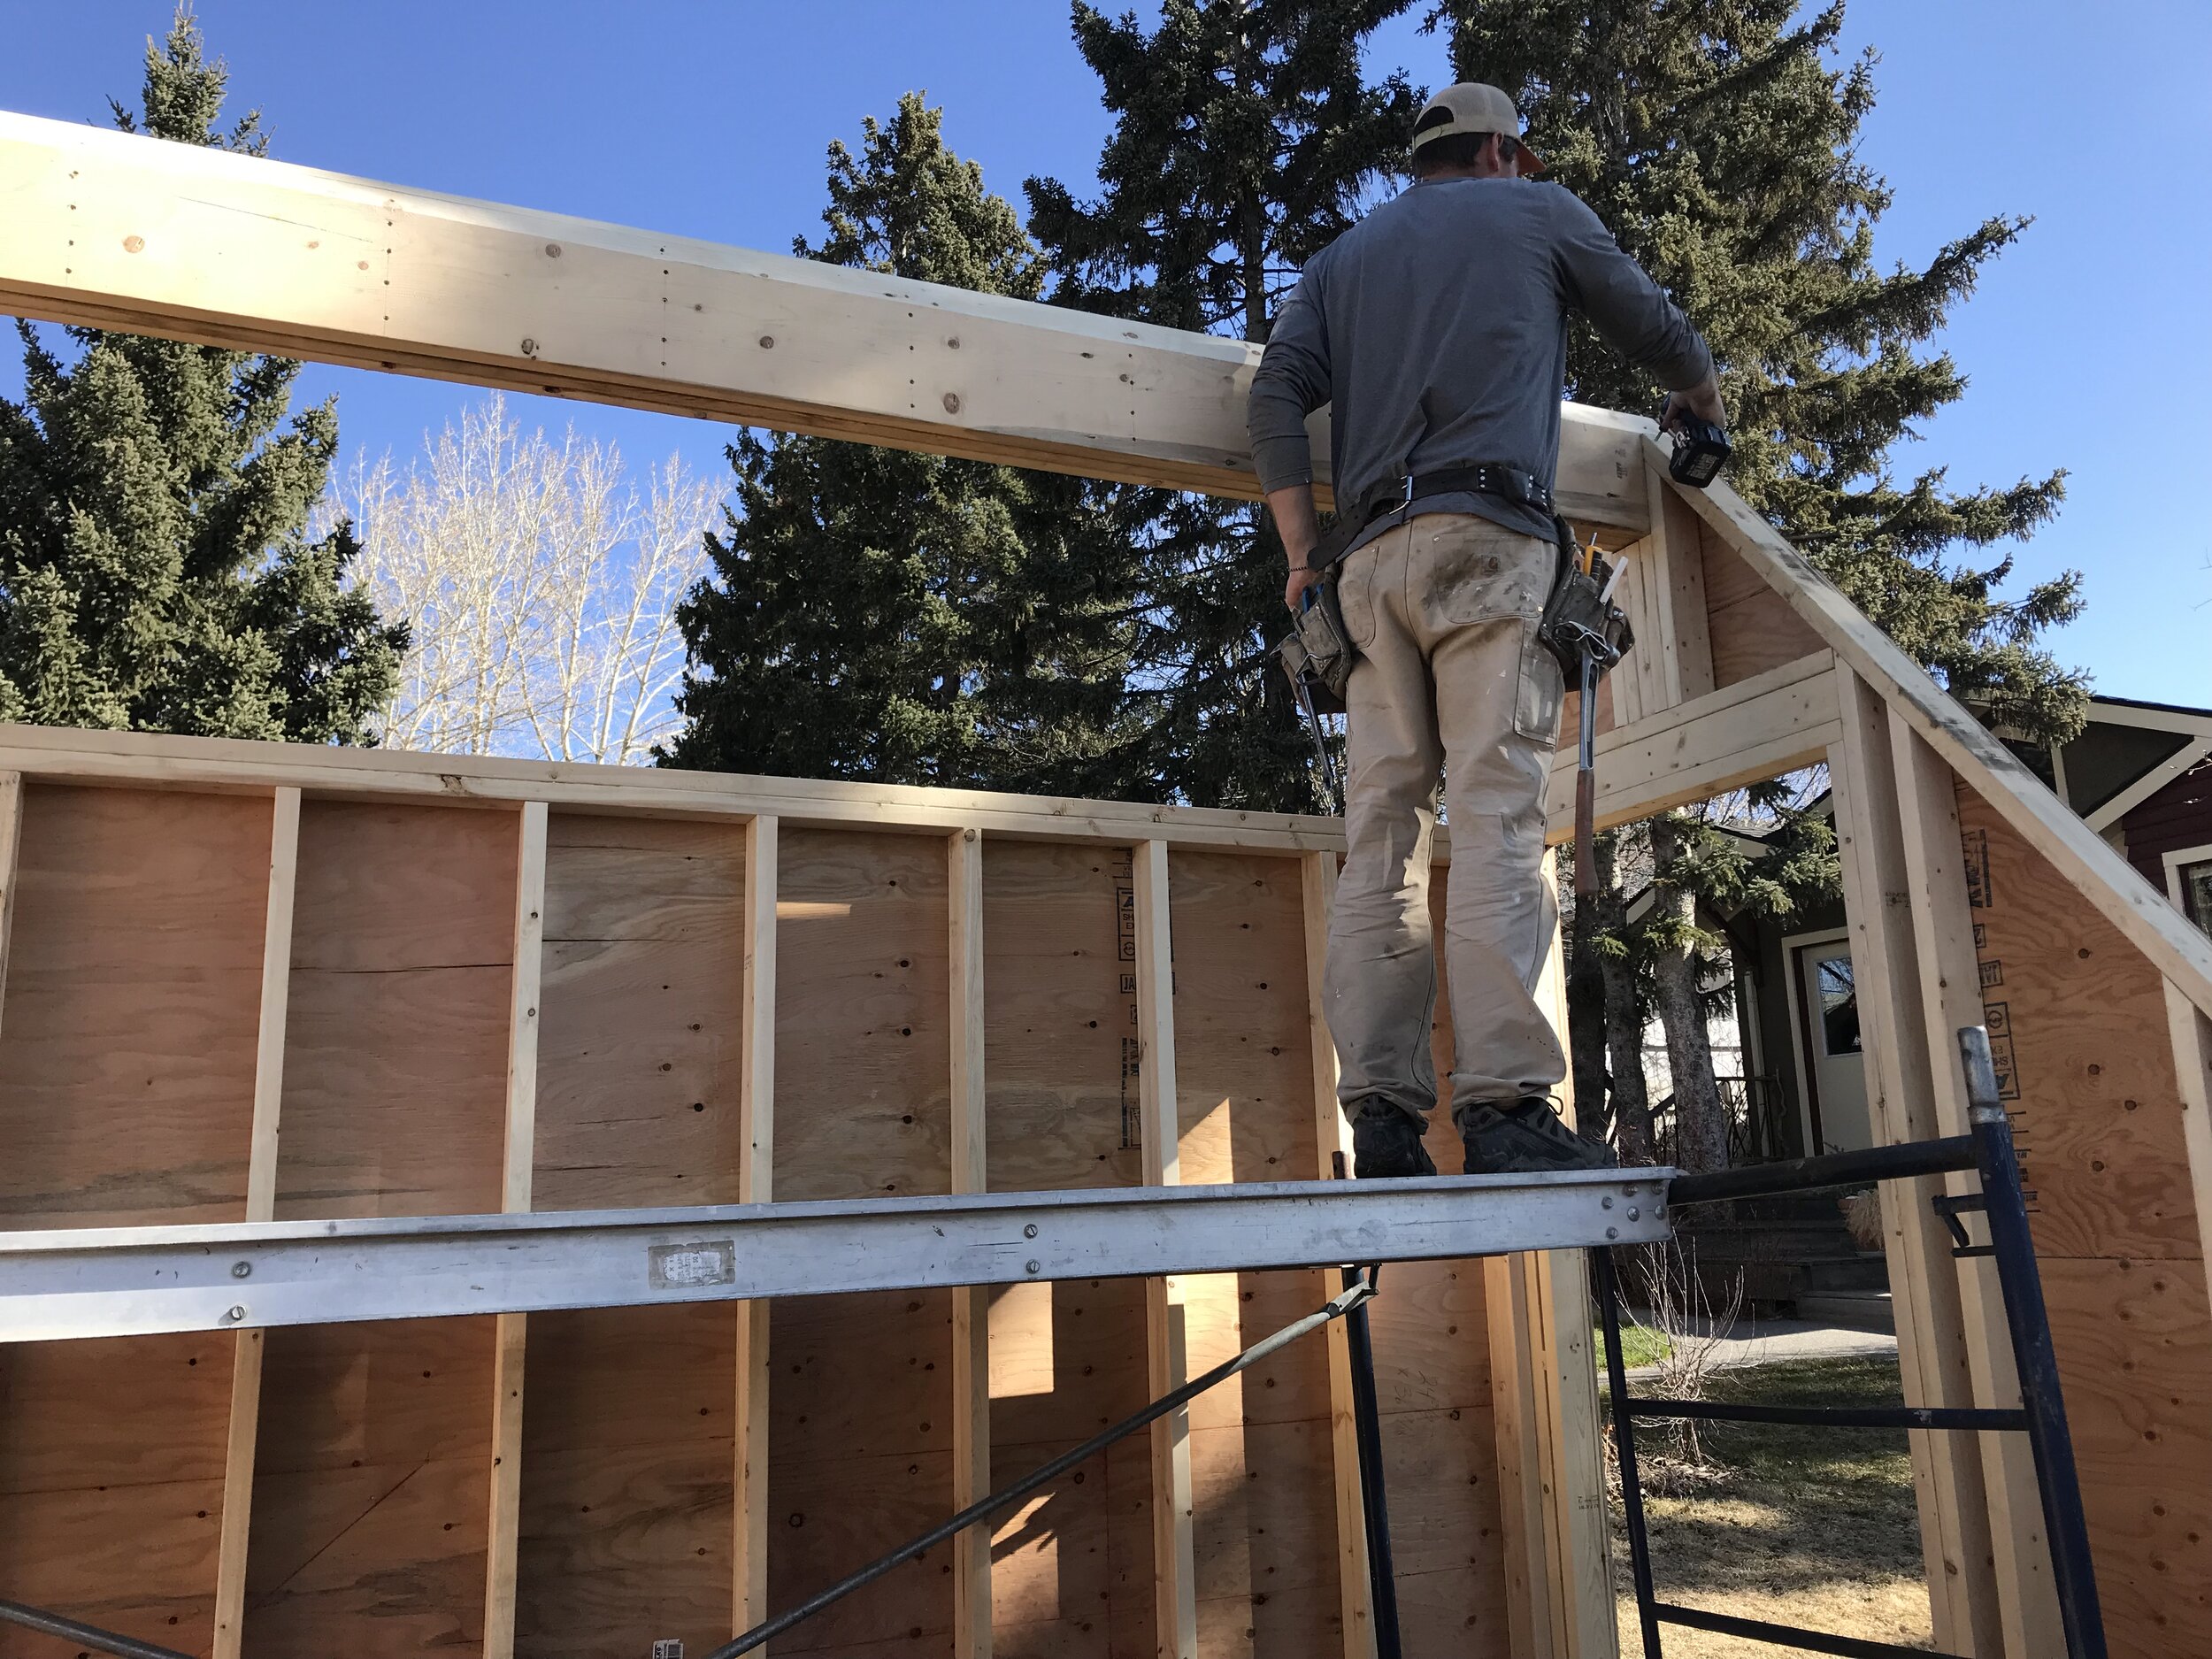
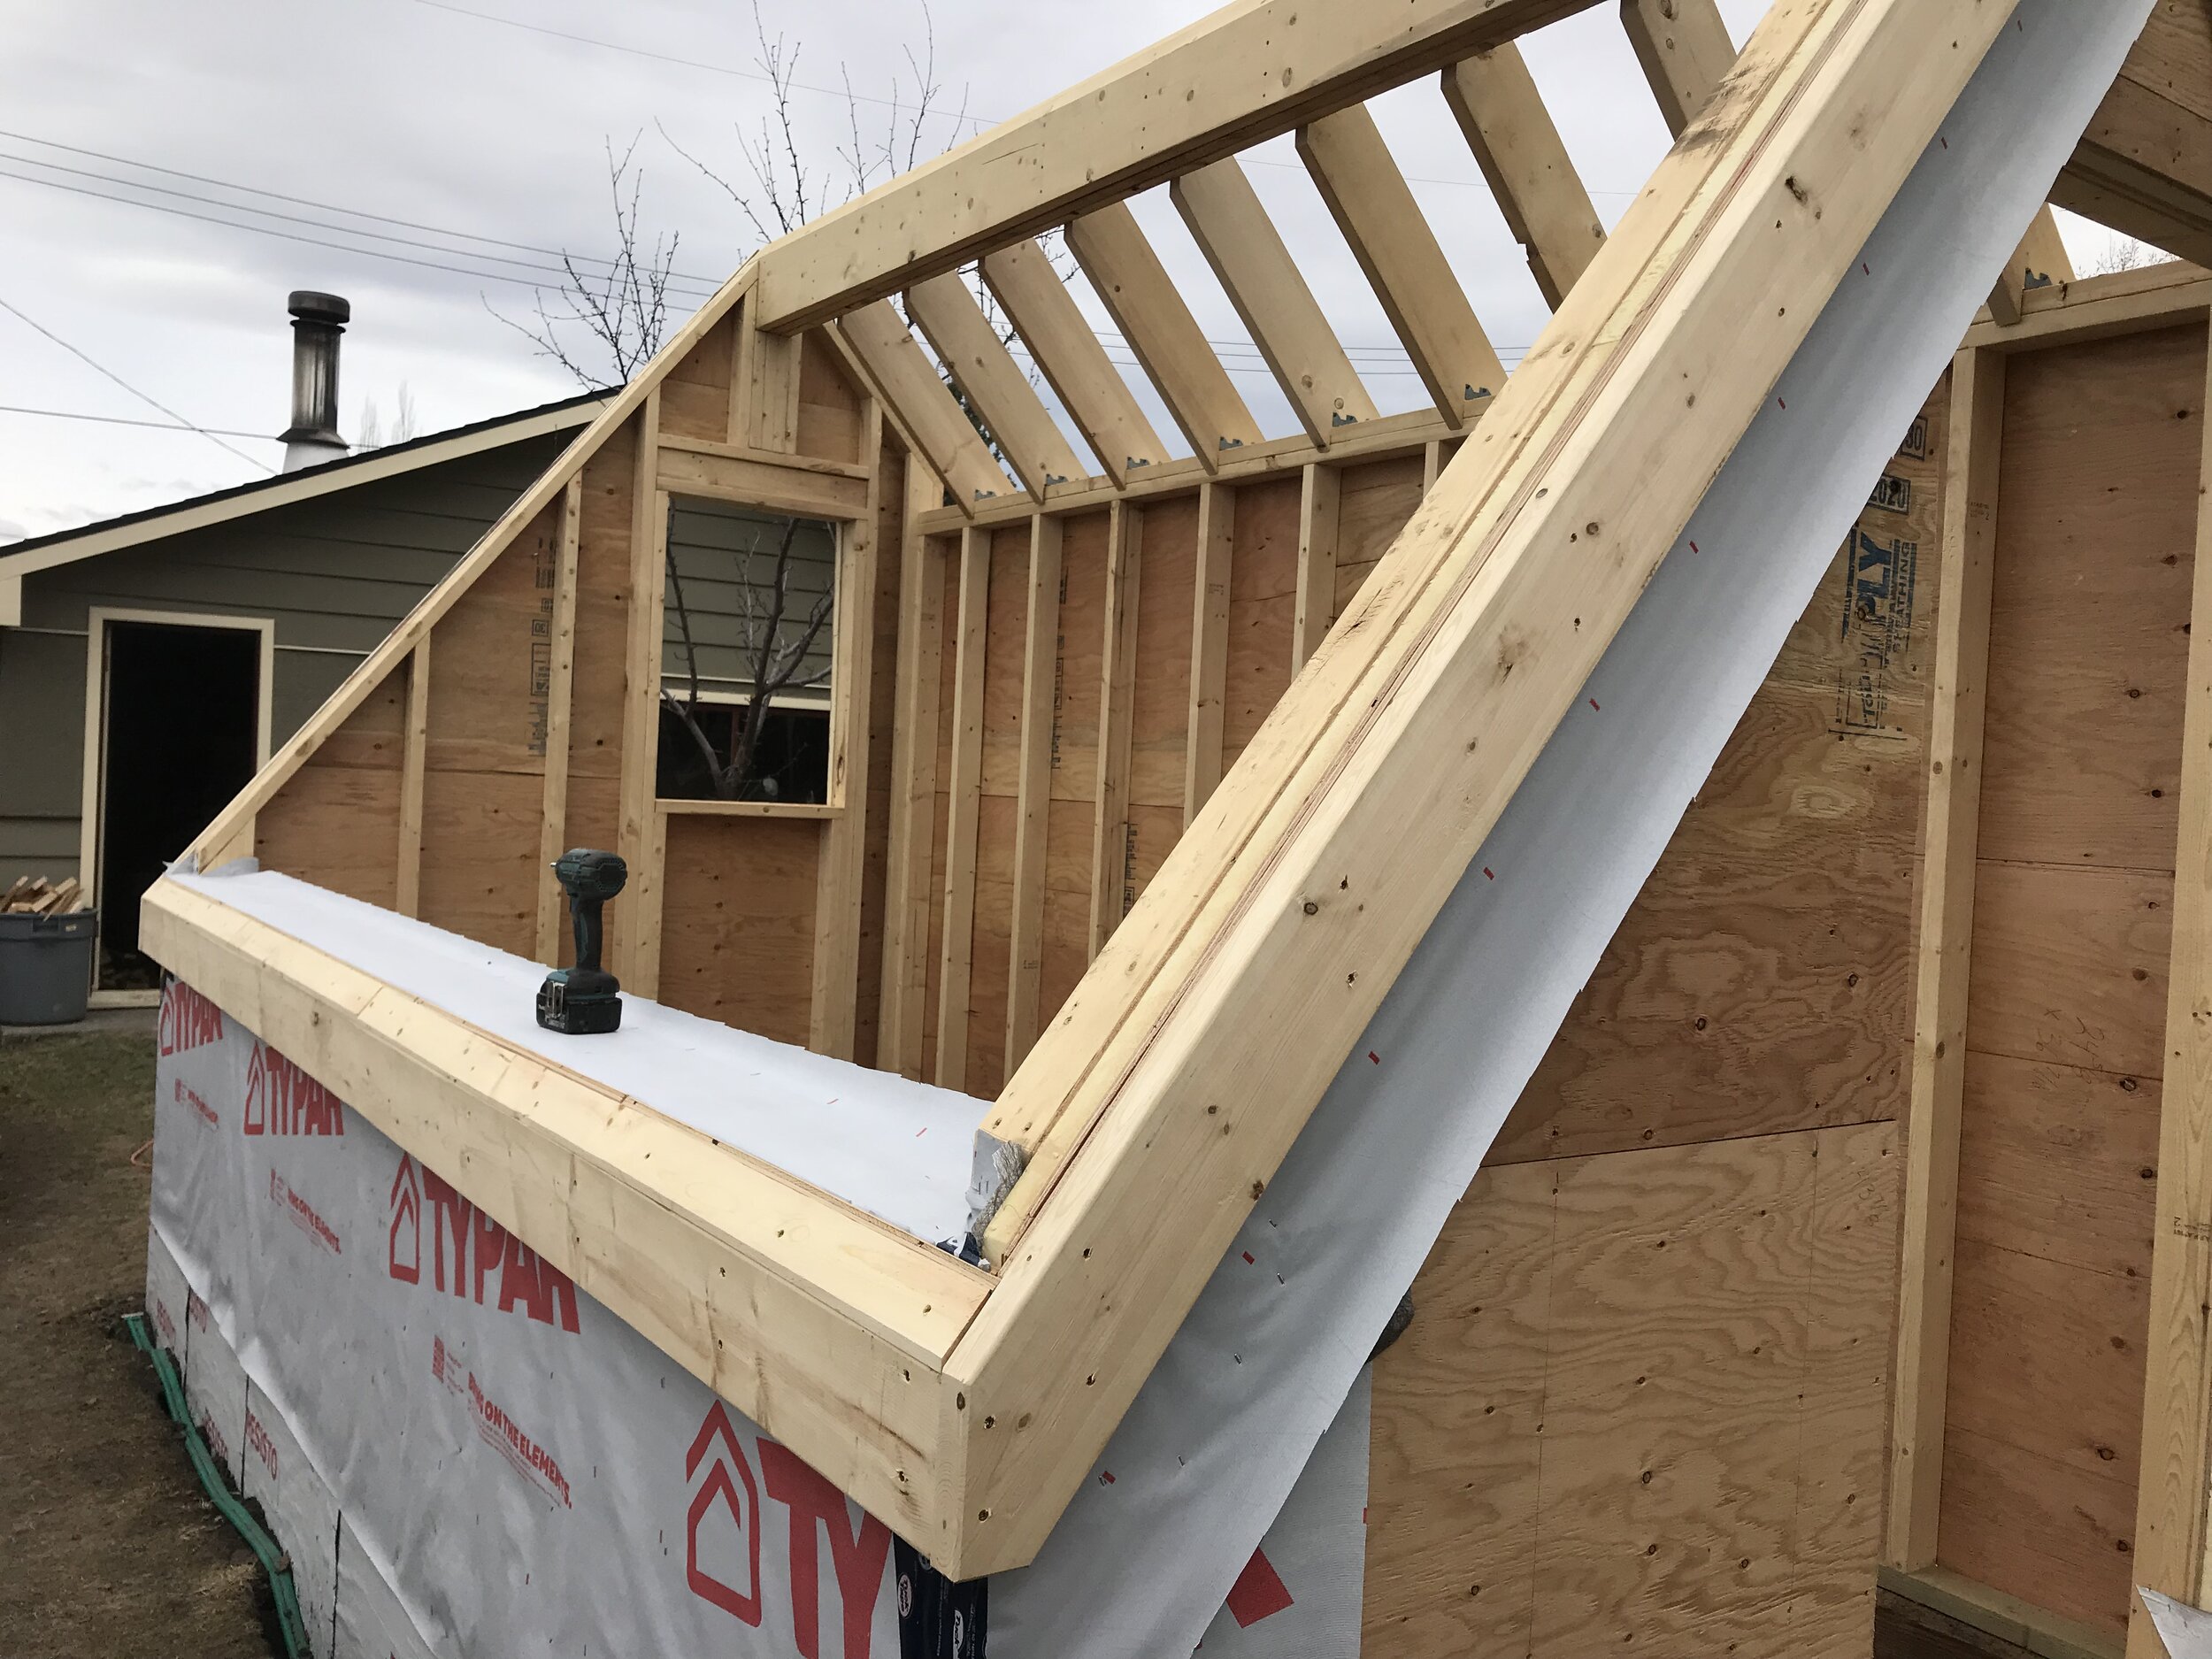
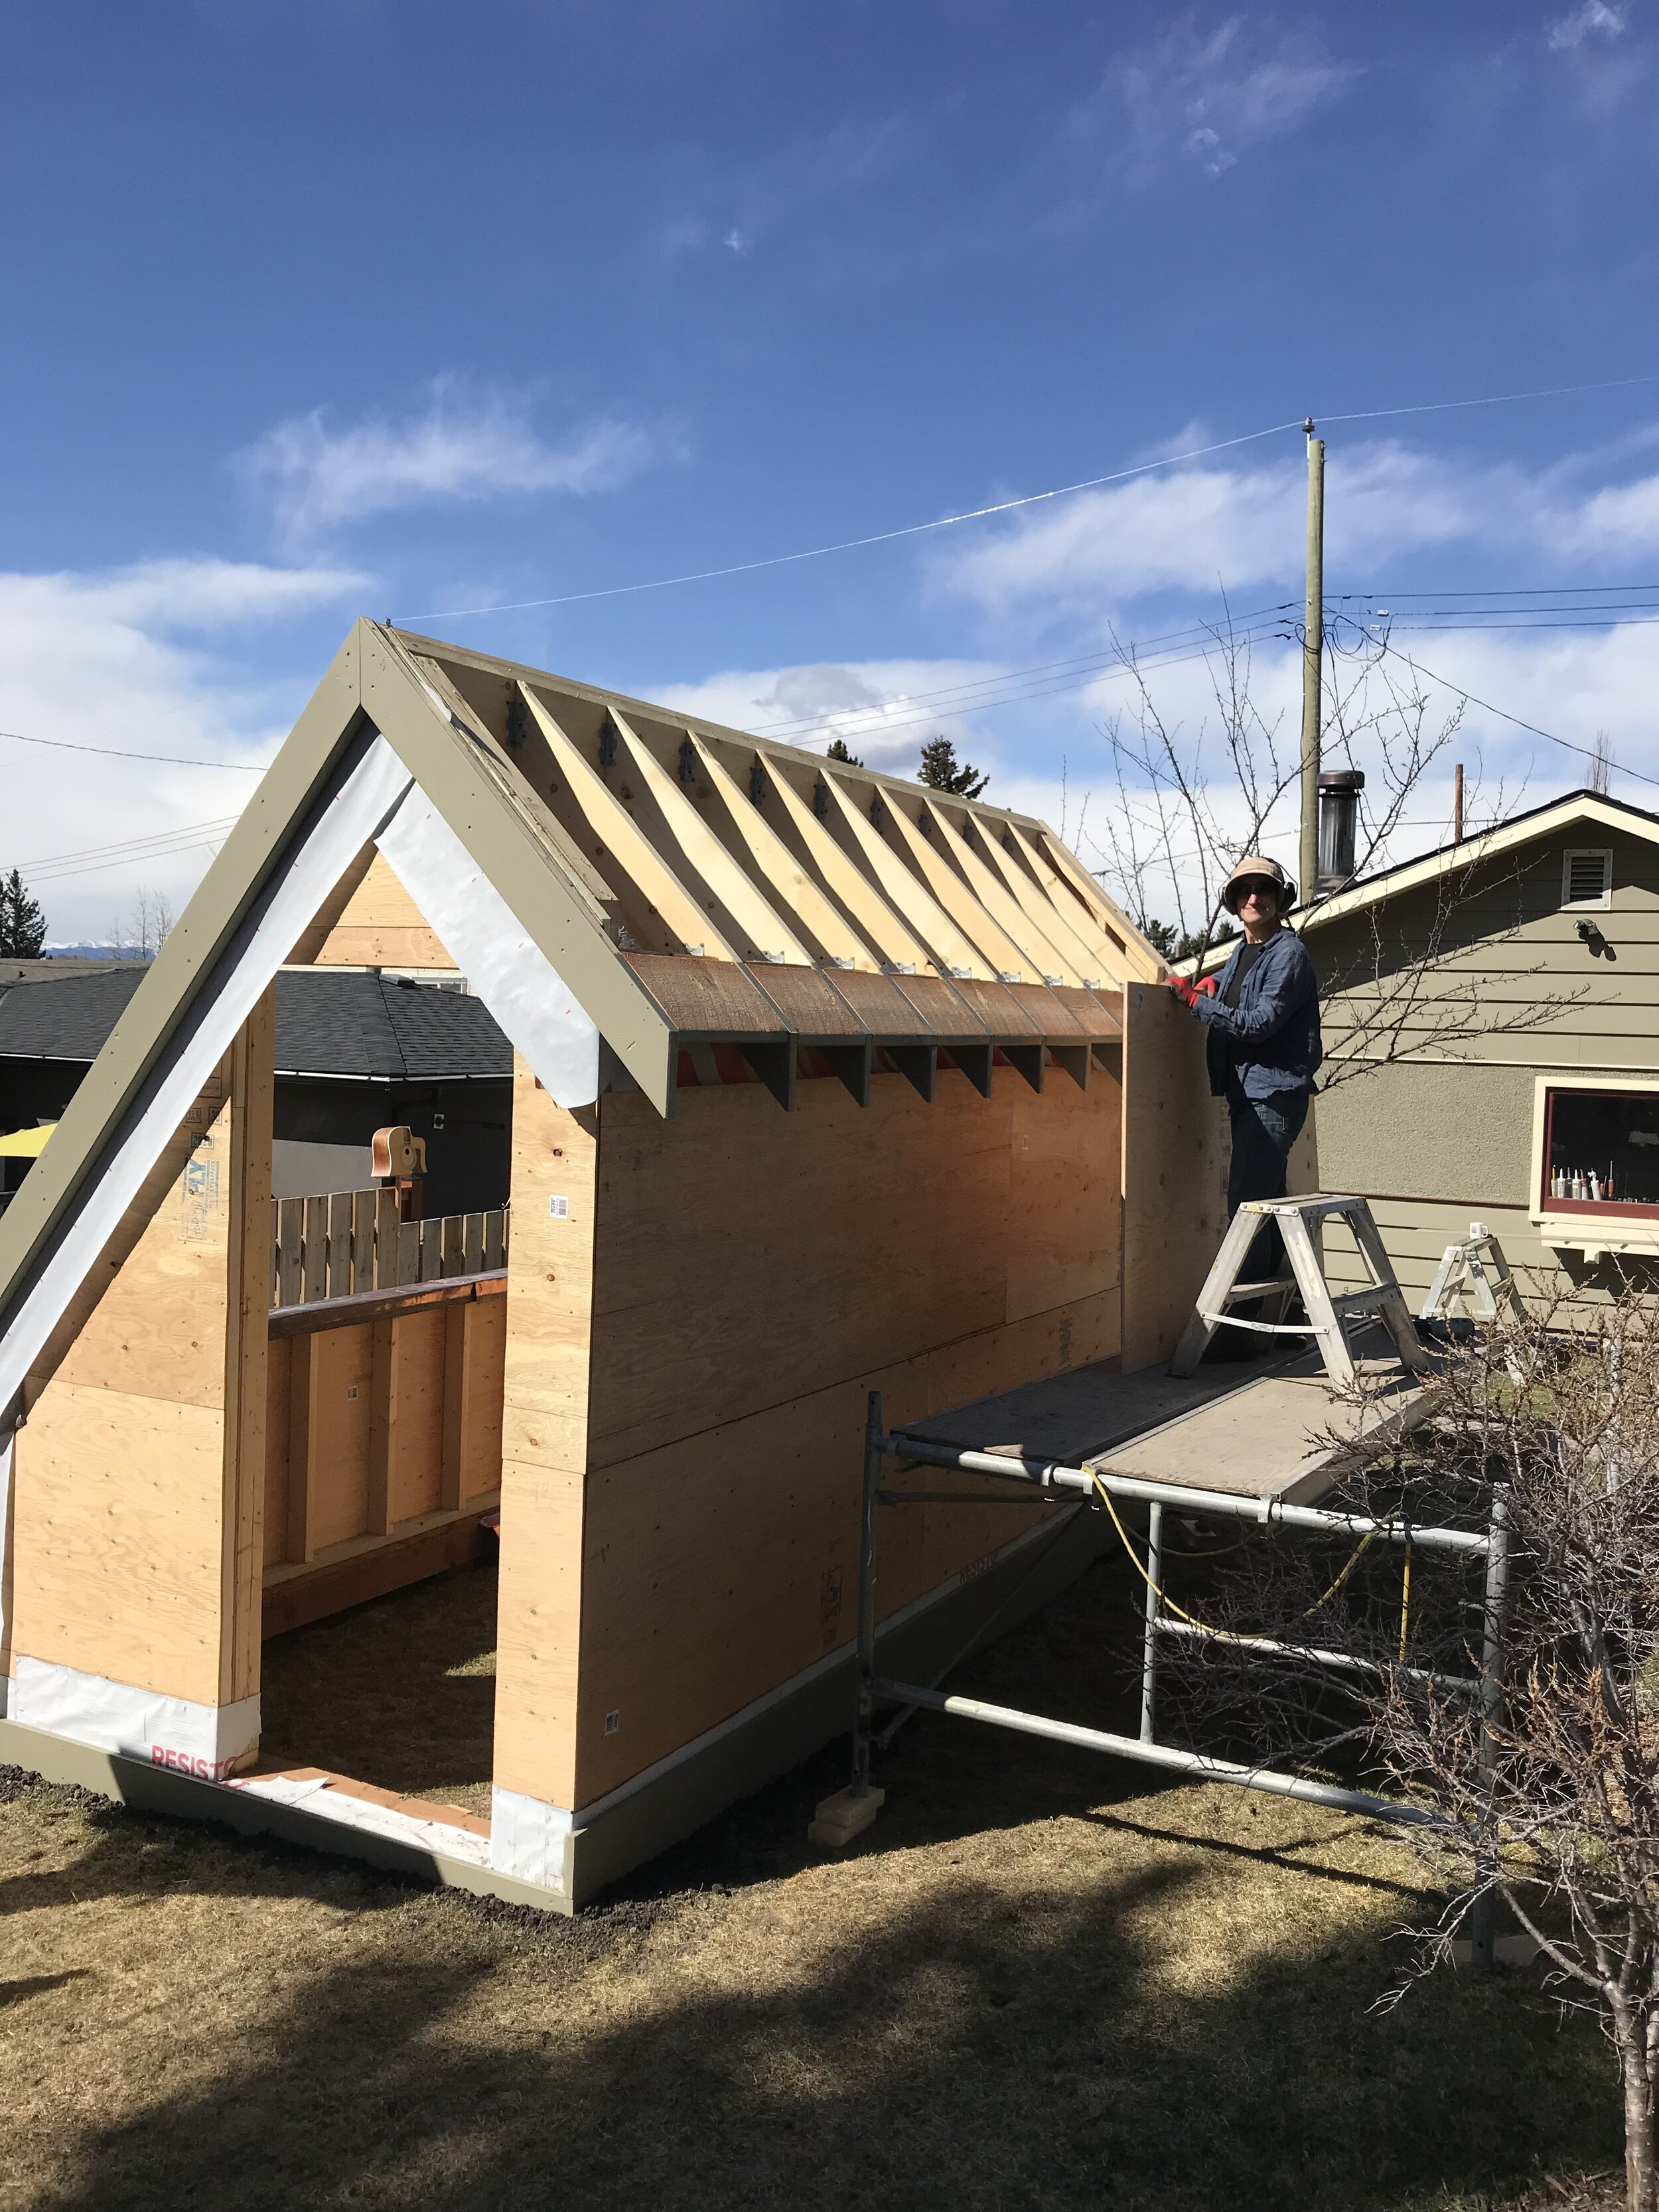
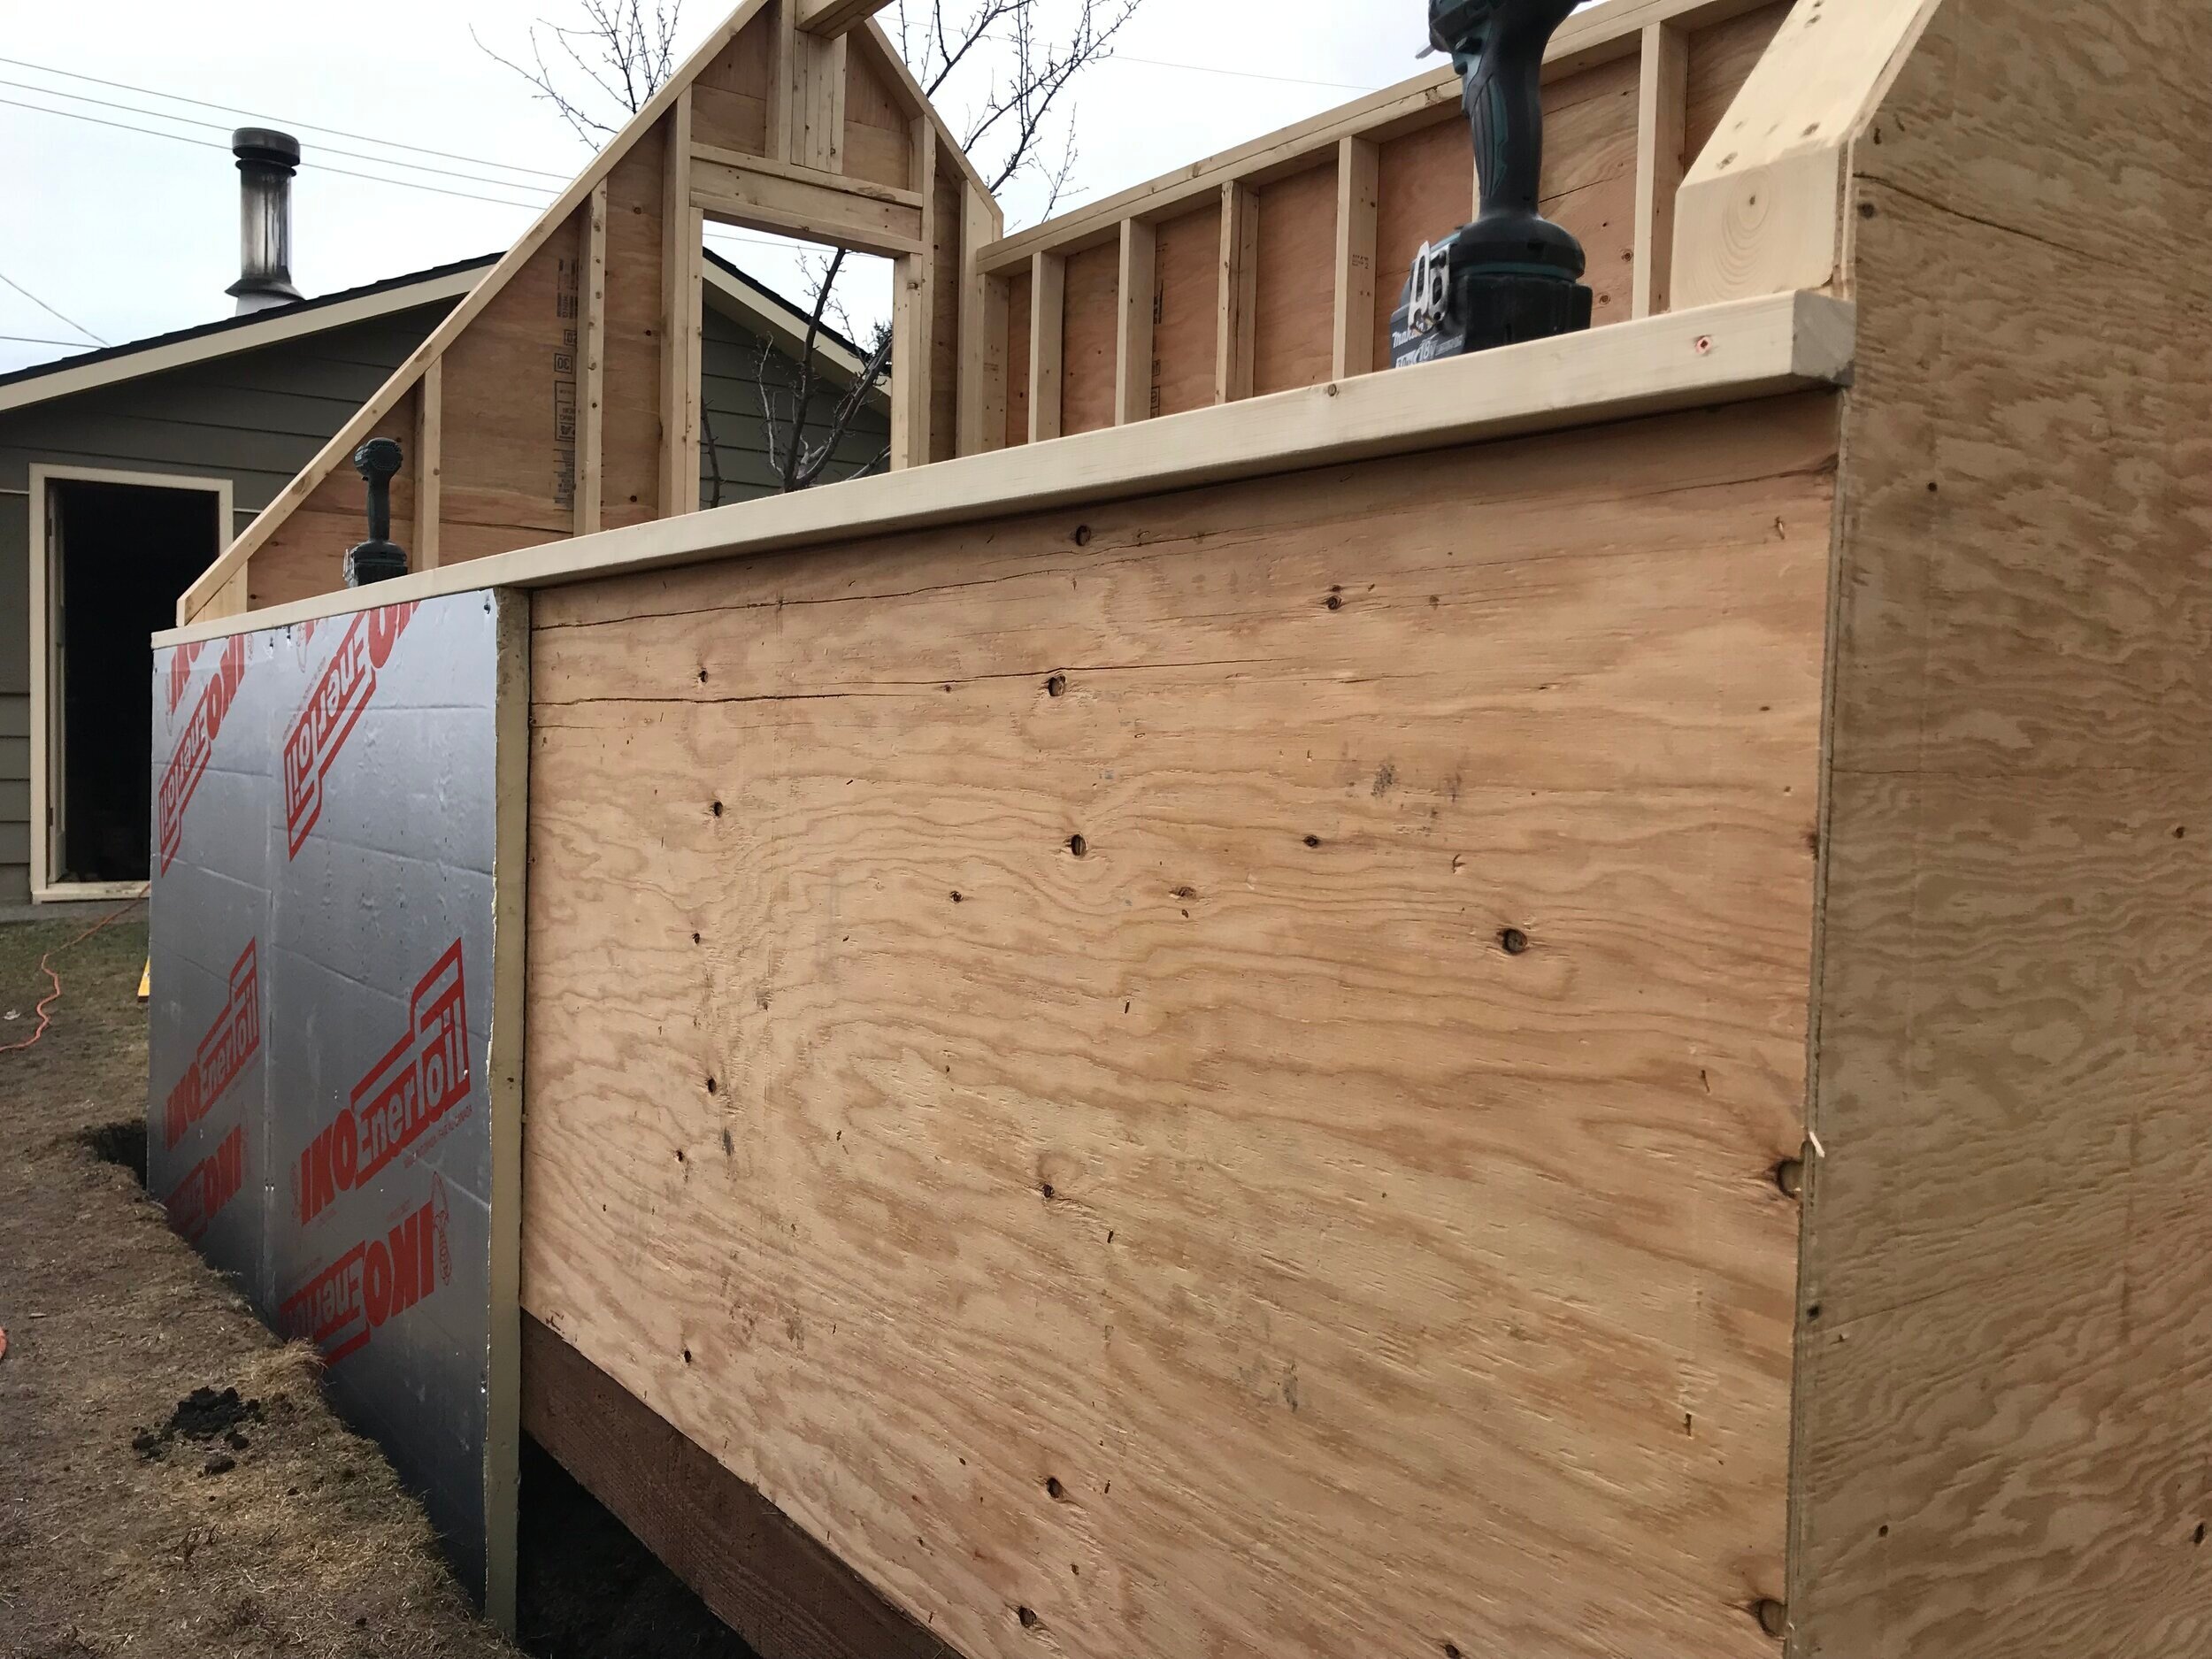
To insulate our walls we chose to use Rockwool on the interior and foil-backed rigid foam (brand name Enerfoil) across the exterior to prevent thermal bridging through the studs. The north roof, although small, is a high point where much of our heat could escape so it received a double layer of Rockwool followed by rigid foam. Neither of these products is particularly “green” yet we chose them for a combination of reasons. Both are resistant to moisture, thus suitable for a greenhouse environment, they both offer good insulative value per inch of thickness and dollar spent, and they are less environmentally problematic than some of their counterparts. They allowed us to achieve good R-value while keeping our wall depth to 6” so we’d be left with adequate growing space inside.
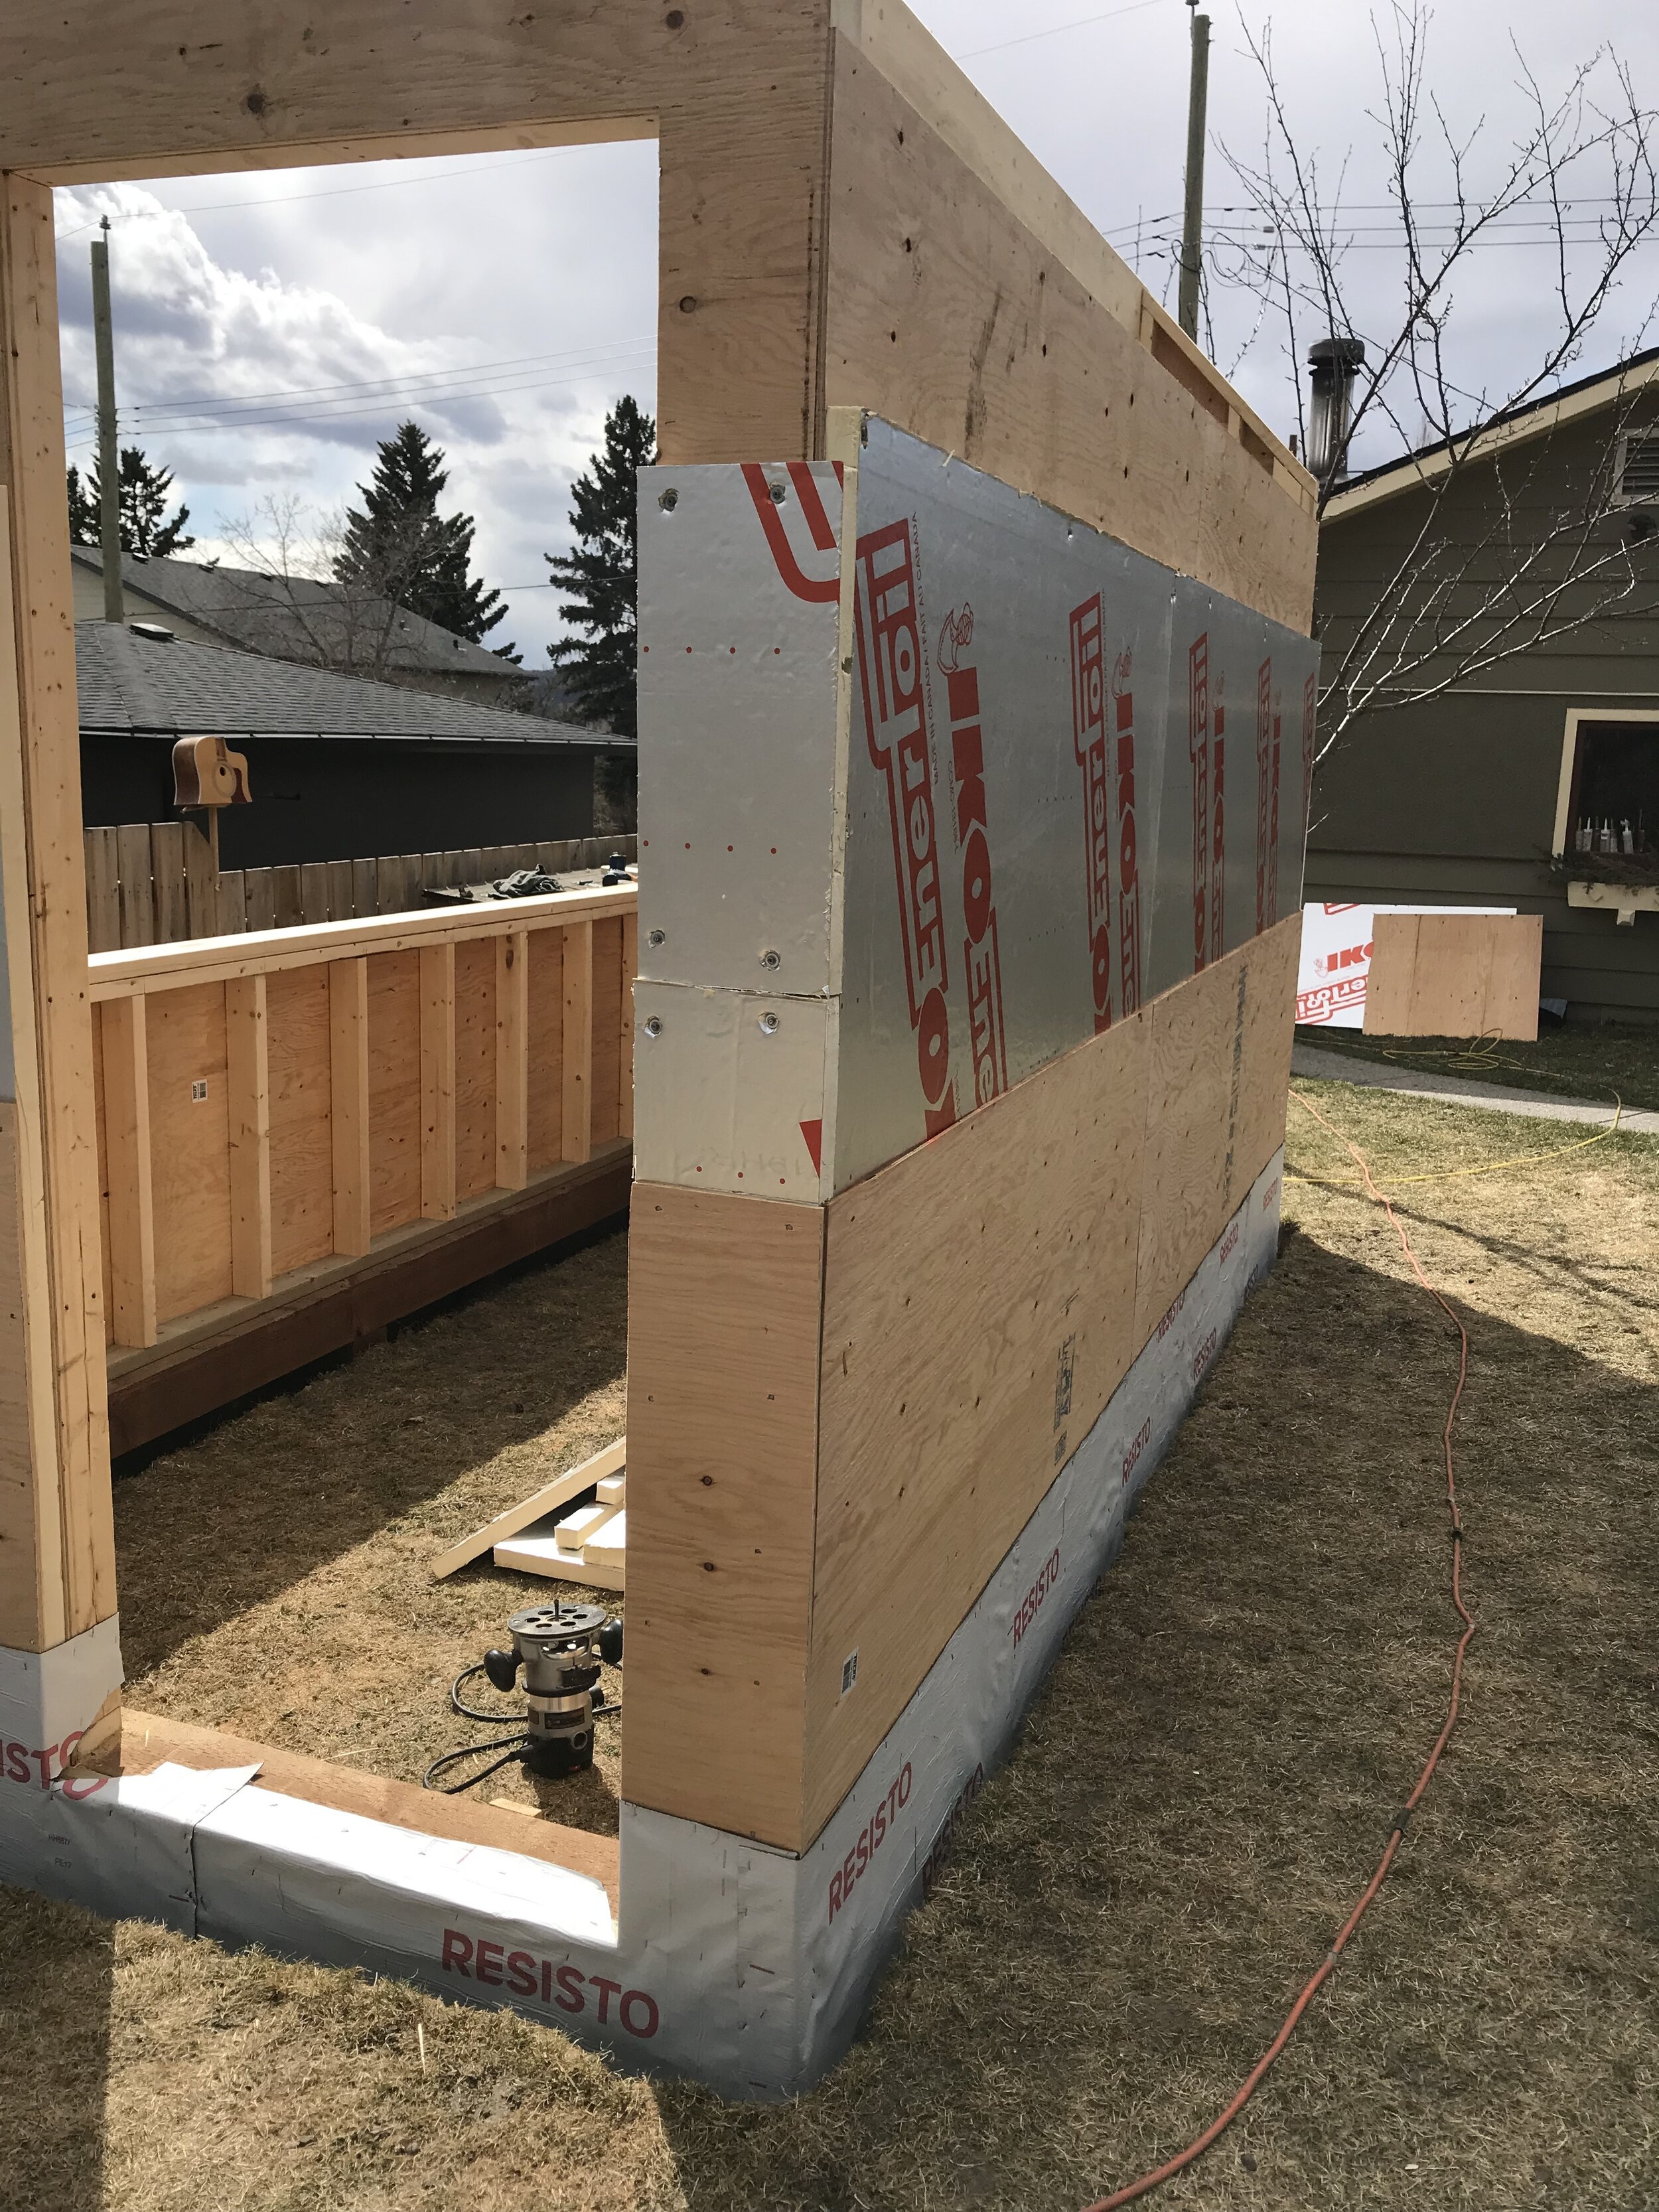
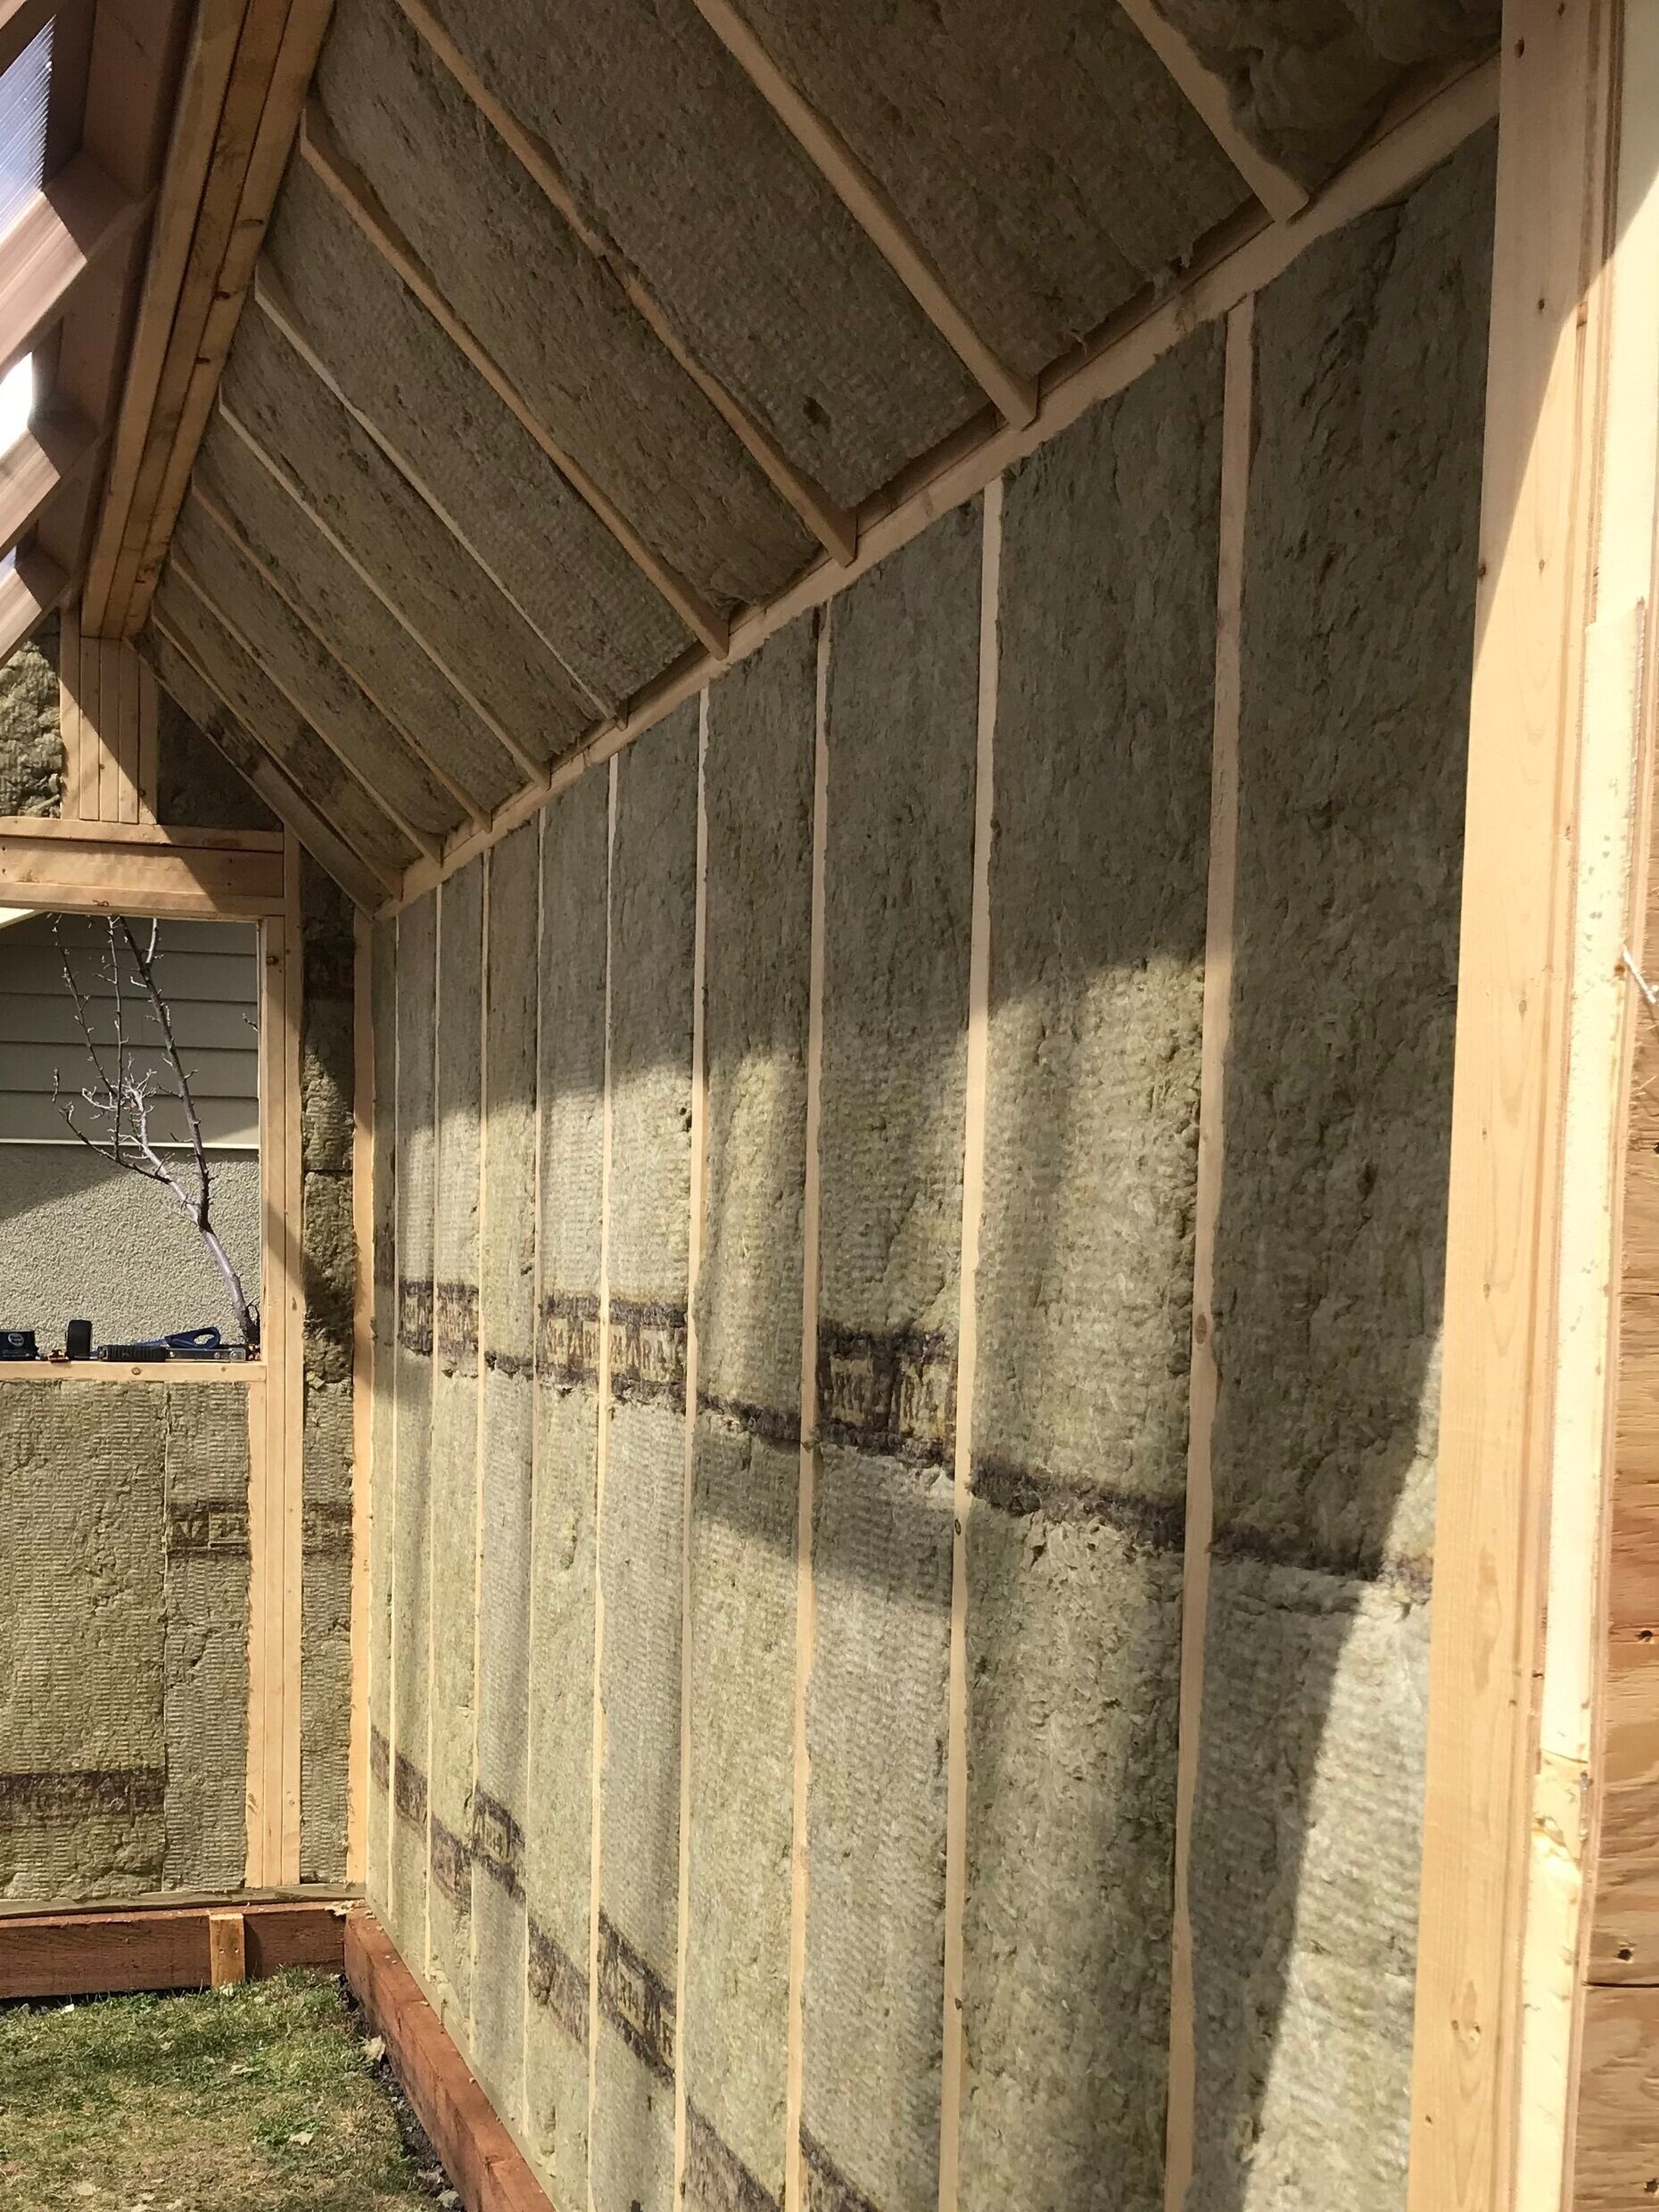
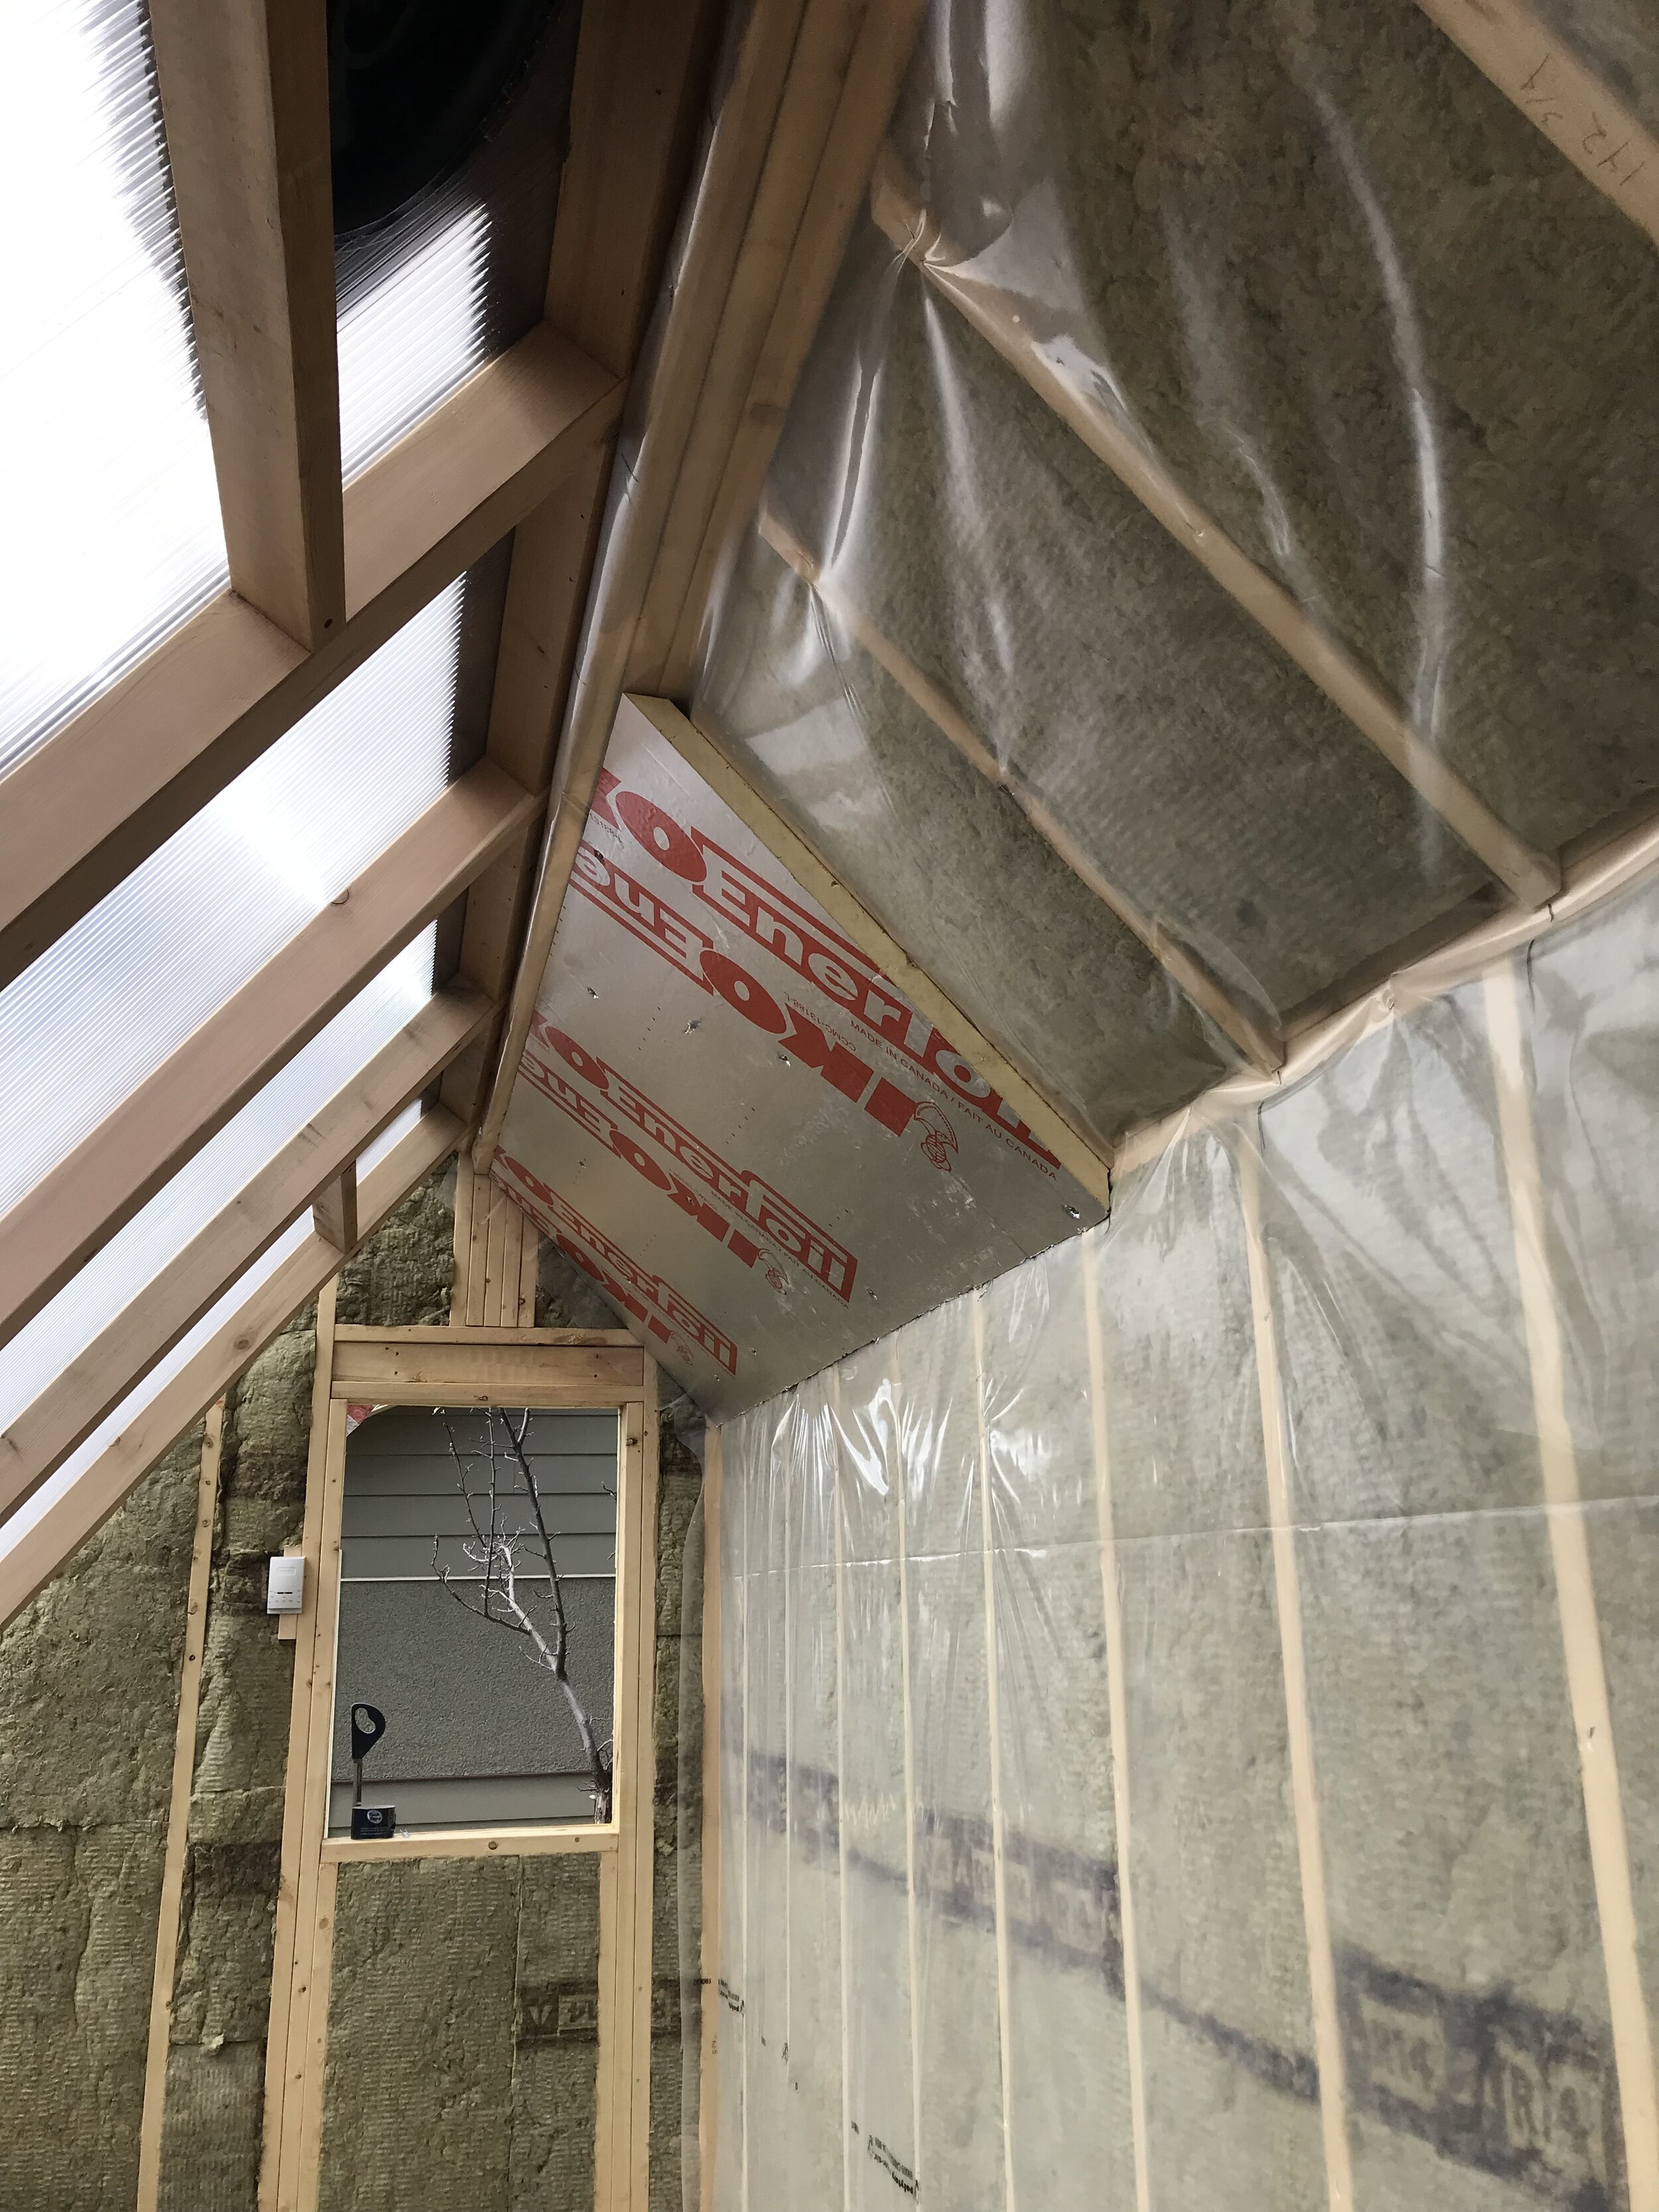
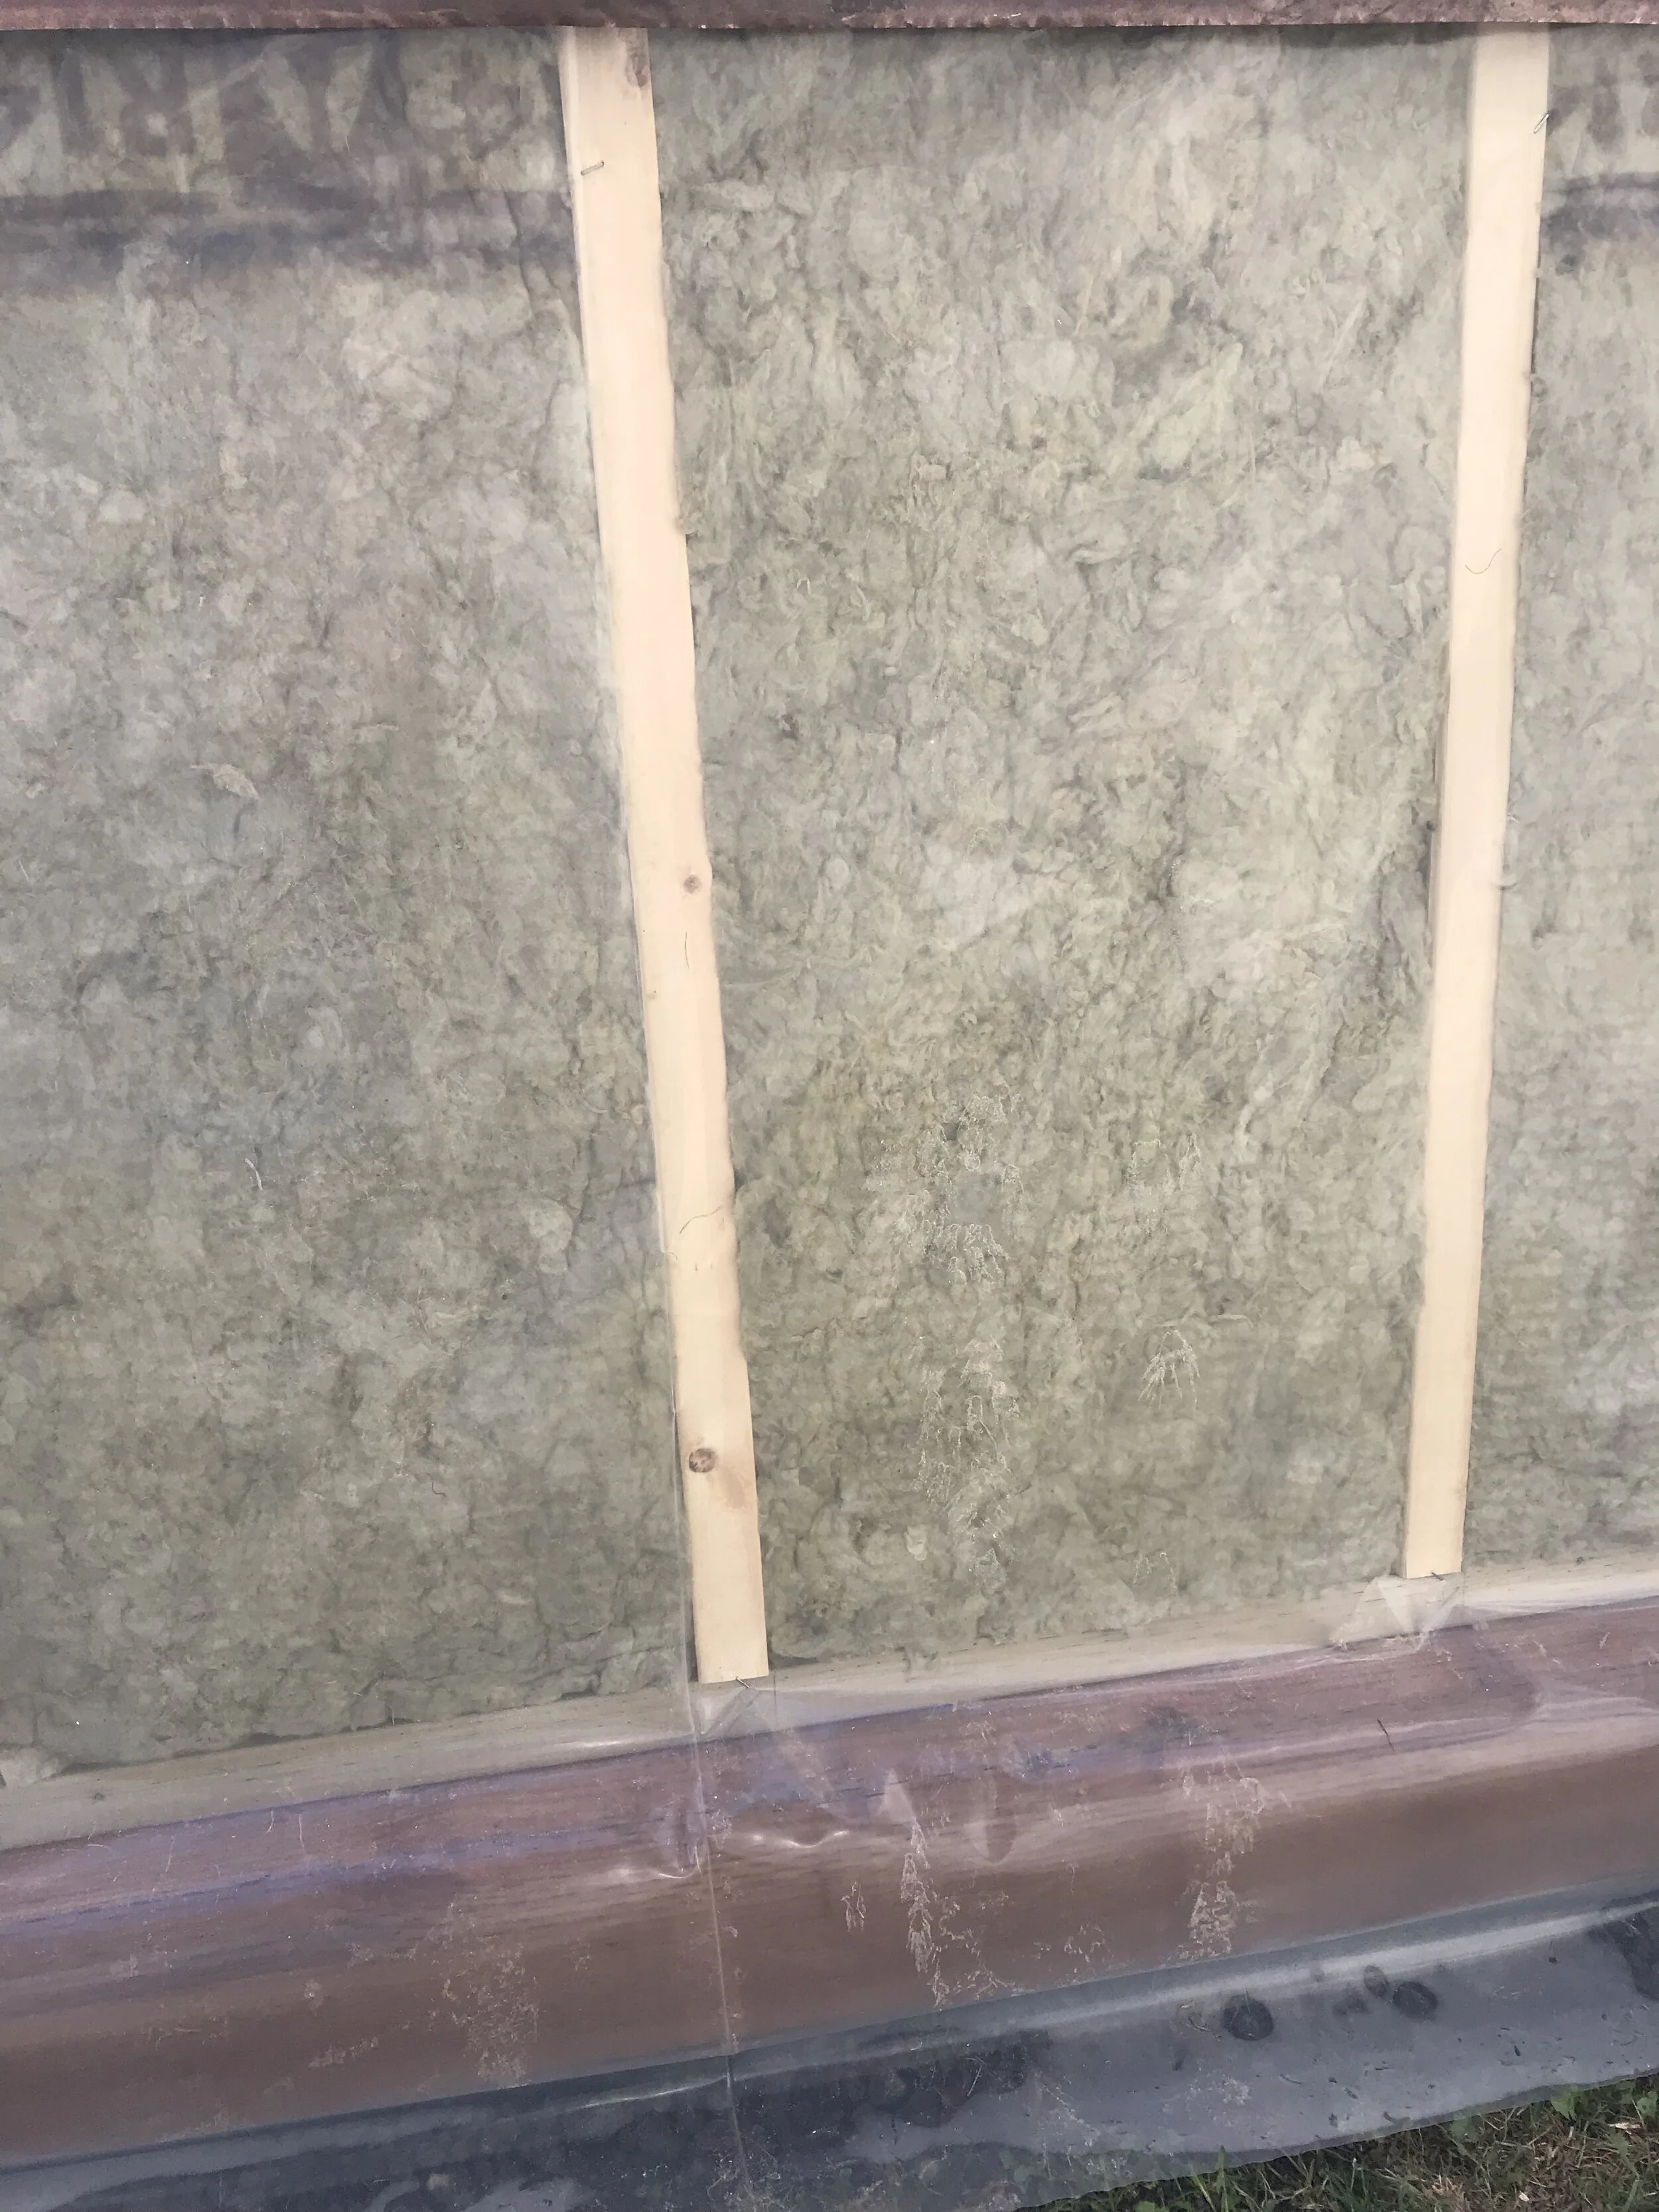
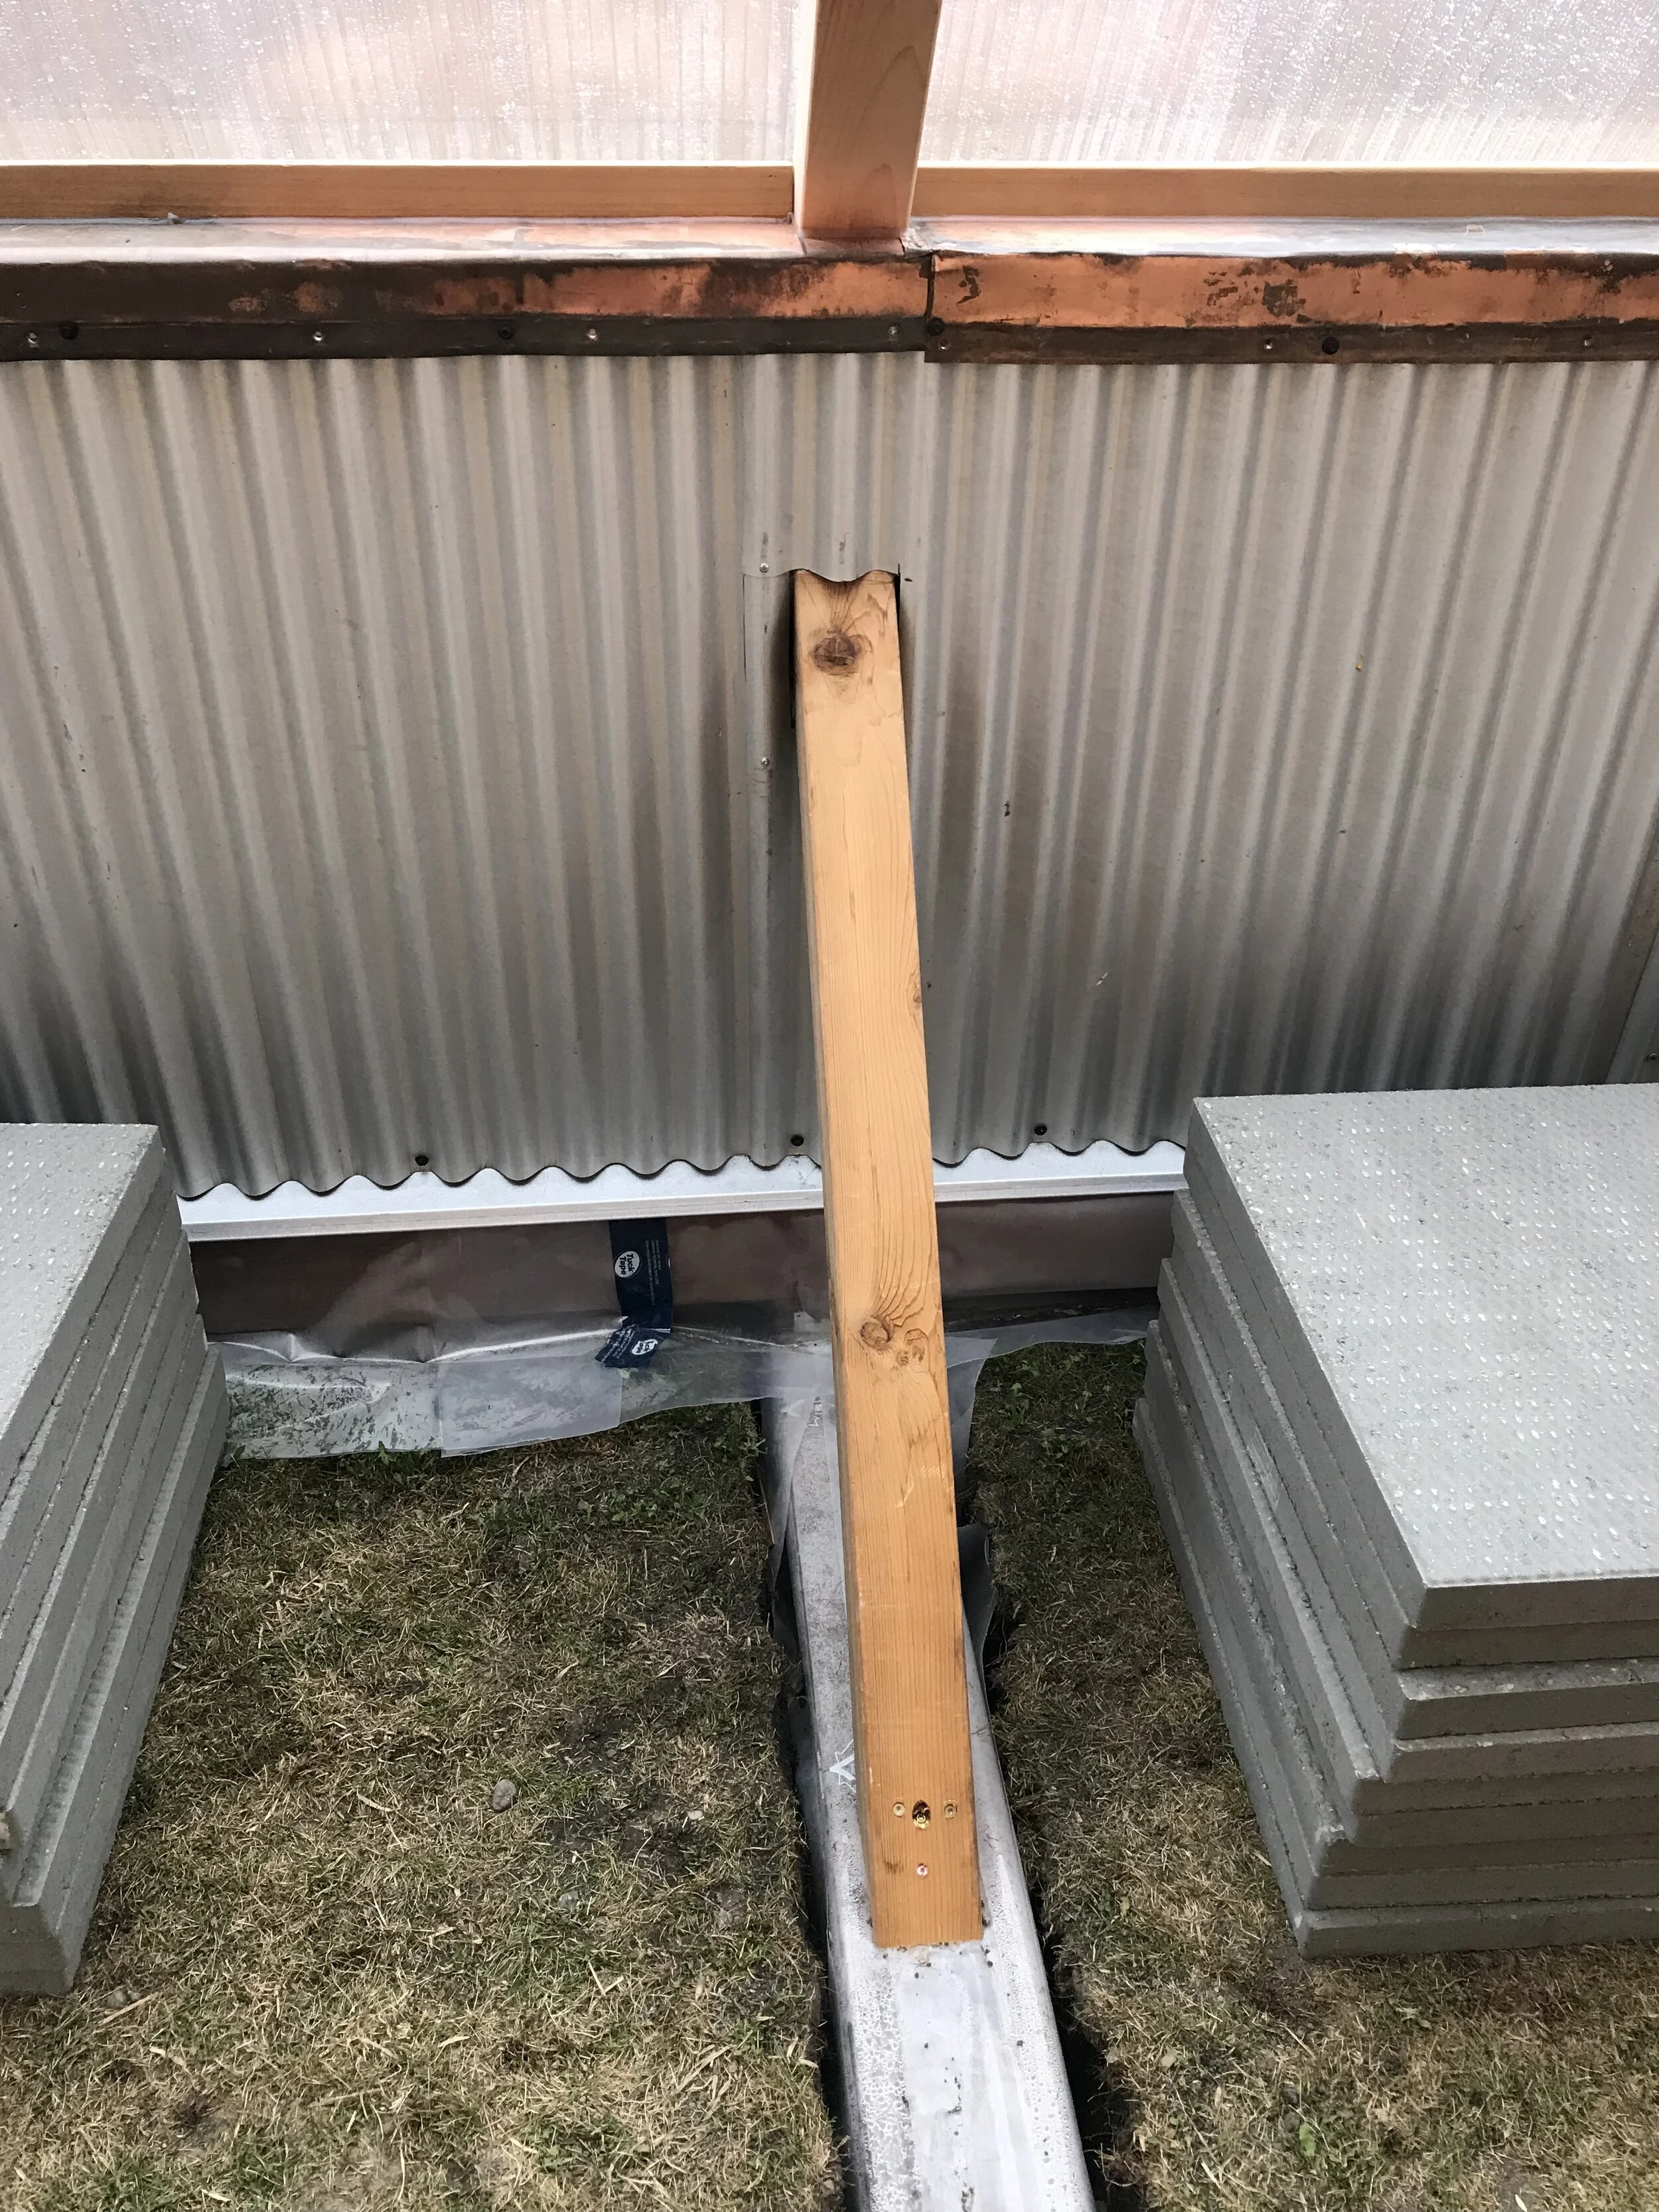
My husband foresaw that we may have a problem with a growing bed filled with heavy, wet soil pushing against our south knee wall and causing it to bow out. So we added an angle brace attached to a north-south floor beam (wrapped in vapour barrier to prevent leaching) to keep it all square. It seemed also that he top of our knee wall may be prone to rot if interior moisture accumulated there so we capped it in copper sheeting we salvaged years ago from a local store reno. And in preparation for the polycarbonate panels and a potential snow load on the south face, we secured cedar 4x4’s as strong, rot-resistant rafters.
I’ve been struck by how much this process has resembled building a small home versus a greenhouse. The detailed carpentry knowledge my husband has, plus his many tools, has been critical in making sure each element will match up with the next and that the end product will look good, really endure, and function as intended. Considering the labour involved and the cost (more about that later!), I’ve found myself questioning why we’re not just tacking some plastic over a frame or joining old windows together for a little “hothouse”. After all, those methods can actually succeed in getting you tomatoes in Cochrane or fending off an unexpected frost. But I’m reminded of what we’re really trying to achieve here - the ability to grow food for a vastly longer period than our climate would normally allow. And to do it without energy-intensive inputs of heat. If we succeed in that, it will be well worth it!
So, onward we go…in the next instalment we should complete the build.


